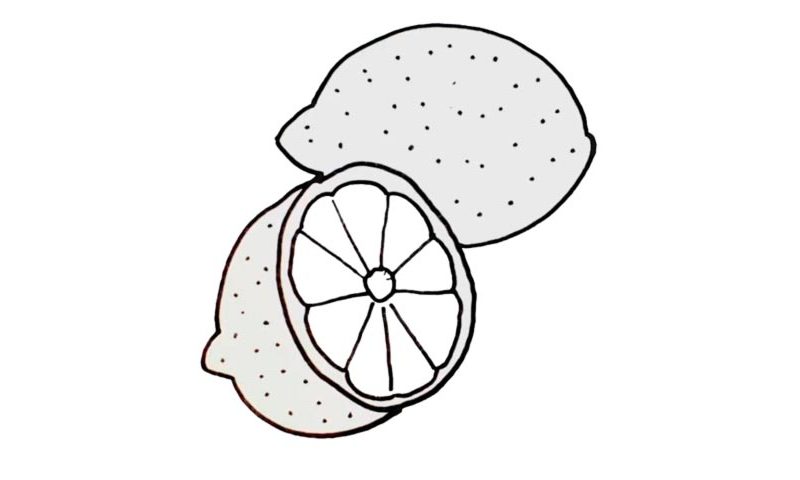
Learn How To Draw A Lemon Quickly
We actually have not one, but two lemons in this video guide: the first fruit is cut and we can see the insides of it, while the second one sits in the upper corner and loos good as new. We’ll start this how to draw a Lemon tutorial with the cut fruit (00 min 07 sec). Create an oval/circle first. Then, use three simple curves to outline the rear half (00 min 19 sec).
For the front part, add a tiny circle in the middle and draw a flower-like pattern by following my example in the video (00 min 42 sec). The “petals” will make it look like the real thing. Don’t forget about the dots in the back (01 min 25 sec). Ok, if you are happy and satisfied with how everything looks so far, move on to the second lemon.
This part of the how to draw a Lemon tutorial is much easier, as you’ll only need to worry about the shape (01 min 40 sec). The two lemons overlap each other, by the way. Before saying goodbye, make sure to add as many dots as possible (01 min 57 sec).
Before you learn how to draw A Lemon, did you know?
Back in the day, before logistics became a huge part of our lives, lemons used to be an expensive treat, even for the rich folks. These days, they cost almost nothing and can be purchased in every single supermarket or even tiny convenience store around the globe. The juice of the lemon is why it’s so popular in cooking and cleaning stuff.
Once you have a taste of it, you’ll never mistake that flavor for anything else. People add lemon to their tea, cocoa, and more traditional meals like a chicken and/or a turkey. And, obviously, lemonade is almost entirely made of lemon (and tons of water, of course). According to the experts, these trees originated in India.

