Learn How To Draw A Hammer Quickly
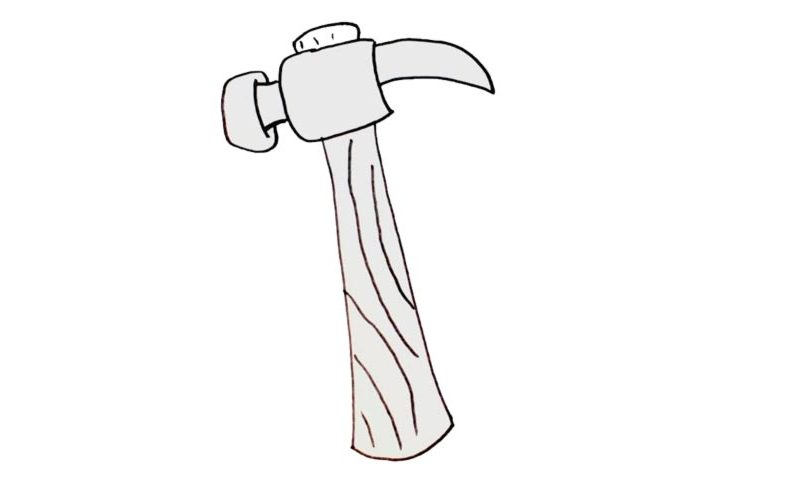
You should begin in the middle of the paper with the handle – the wooden part of the instrument that we grab onto when nailing away (00 min 07 sec). Make sure the vertical lines are becoming wider the lower they go. Connect them to each other at the very bottom with a curvy line (00 min 15 sec). Now we move on to the next part of the how to draw a Hammer tutorial – the head (00 min 26 sec).
Take a good look at the final result first so that you can get an image of the complete drawing in your head. The metallic part of the hammer consists of three parts. The one in the middle is the biggest and the easiest one. Basically, it’s a square with curvy sides. The right half looks like a horn of some sorts (00 min 42 sec). It should be nice and pointy.
The next stage in this how to draw a Hammer tutorial deals with the front part, the one that we use to drive the nails (00 min 52 sec). It resembles a cork/cap, doesn’t it? The wooden handle comes out from the other side (01 min 17 sec).
Before you learn how to draw A Hammer, did you know?
Over the course of time, our kind has managed to create a huge line-up of instruments that help us build and take care of routine stuff at home. Hammers are great for nailing something, and they’re quite affordable for the regular people. The one you see in this video is pretty basic but will serve you for the years to come.
Construction workers have access to far more sophisticated hammers that allow them to build gigantic business centers and such for the cities. These hand tools have been around for centuries and are pretty much irreplaceable, despite the modern-day treats. They vary in size, shape, and, of course, structure, and are usually intended for something specific.
