Learn How To Draw A Mexican Hat Quickly
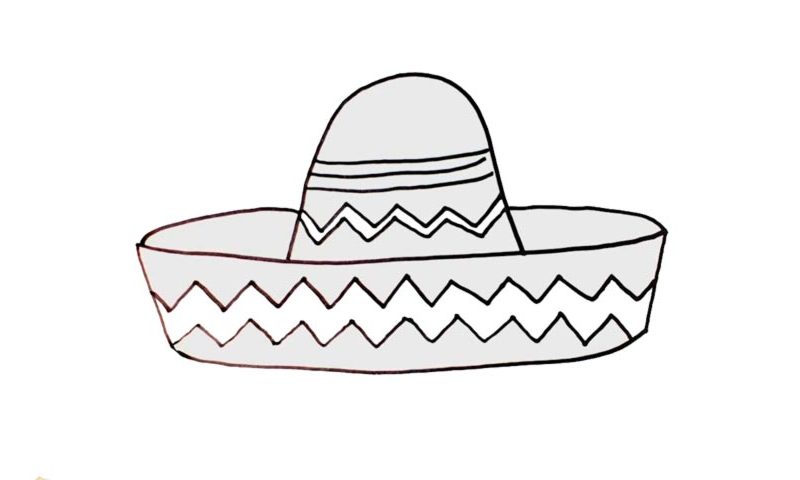
This is a simple drawing and we’ll be done with it in about two minutes. There aren’t any complex lines and curves here. At the same time, this how to draw a Mexican Hat tutorial should be taken seriously; otherwise, you’ll end up ruining it. Begin in the lower corner and create a long horizontal line (00 min 08 sec). That will be our foundation.
Next, add two vertical and one horizontal line like you see in the video to complete the front half of the hat (00 min 20 sec). The upper half comes next and looks like a dome of some sorts (00 min 44 sec). The whole thing resembles a sailboat now, doesn’t it? To make the drawing look 3D, you’ll need to connect the two parts to each other (00 min 57 sec).
Oki-Doki, we’re almost done with this how to draw a Mexican Hat tutorial. All that’s left to do is work on the texture. Go back to the bottom left corner and create two identical zigzag-like lines (01 min 10 sec). Finally, move up and add three basic lines in the middle and another zigzag-like shape to complete this lesson (01 min 38 sec).
Before you learn how to draw A Mexican Hat, did you know?
Yes, those Mexican fellas really love their hats. It’s like a badge of honor or something, very similar to the сowboys. But, in contrast to the American hats, these ones are more “native” and represent the very essence of being a cool South-American guy. This design has been around for ages and hasn’t really changed much, sticking with the original concept.
Have you ever tried putting one on? It feels amazing to walk around the hood with this fancy thing on. Also known as a sombrero, the Mexican hat is a high-crowned hat that the musicians and the tourists love to wear. It might not be as cool and trendy as the caps or whatever, but the spirit of a true warrior is still there.

