Learn How To Draw A Laughing Emoji Quickly
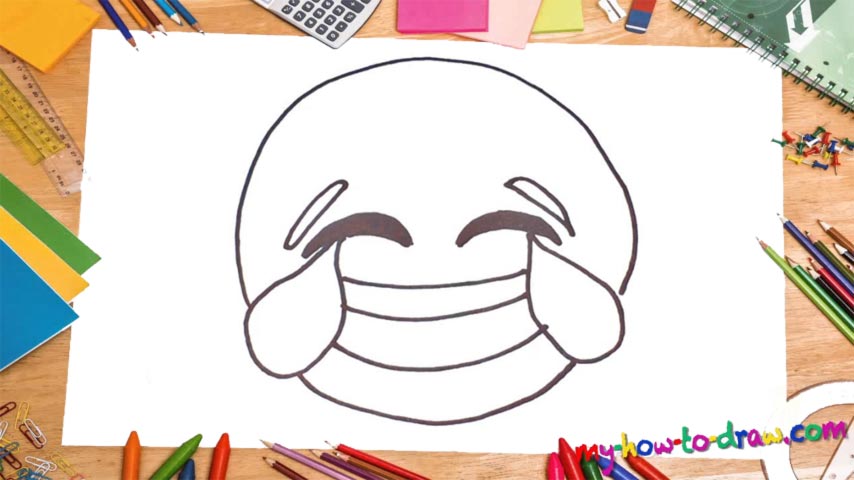
You might think that the guy in this picture is crying, but those are actually tears of joy. Start this how to draw a Laughing Emoji tutorial with creating a half-circle in the middle of the paper (00 min 10 sec). It should be pretty big and cover the upper half of the drawing. Once it’s in place, move on to the eyes – they should be nice and in-your-face (00 min 20 sec).
Don’t forget to color the eyes black. They are identical in shape and placement, by the way. The huge tears follow (00 min 53 sec). They go beyond the bottom of the circle we drew in the very beginning and cover a lot of space. But technically speaking, they are quite easy. After this, you’ll need a bunch of horizontal curvy lines to cover the bottom of the paper (01 min 08 sec).
This step of the how to draw a Laughing Emoji tutorial includes four lines in total, and they sit on top of each other. Start at the top and make your way to the last one that completes the shape of the Emoji. The brows are the final stage (01 min 25 sec). Did you notice that they are not above the eyes, but rather next to them? Make sure you do the same.
Before you learn how to draw A Laughing Emoji, did you know?
Times are changing, and we are changing along with them. When the so-called “Emojis” first came out, people didn’t really pay much attention to this new development. But pretty soon the entire world was enchanted by them and now we can’t imagine our lives without Emojis.
First of all, they make everything look better, and a smiling face at the end of a message is exactly what we need sometimes. Furthermore, they are great at expressing our feelings. It’s true what they say: seeing is believing. So, pull your collection of Emojis out and let’s see which one fits the mood today!