Learn How To Draw A Laptop Quickly
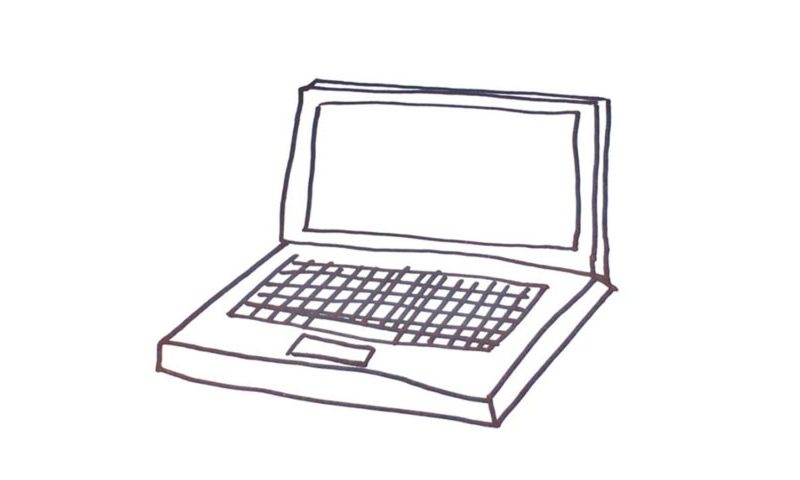
Essentially, this is just a double box with a number of buttons on it – nothing fancy. If you approach this how to draw a Laptop tutorial that way, it will be much easier to “handle” it. Begin with the display that sits in the upper corner (00 min 06 sec). We’re dealing with a regular rectangle here. Next, add another one just like it, but bigger, and put it around the original shape (00 min 15 sec). That’s the notebook’s body.
See those additional lines I placed around it? They make the drawing look 3D, and that’s exactly what we need. If you’re happy with the upper half, let’s move on to the part that holds the keyboard and everything else (00 min 34 sec). Again, the shape is nice and simple, and you’ll master this step of the how to draw a Laptop tutorial in a matter of seconds.
The large keyboard is the next stage in this video guide (00 min 53 sec). Obviously, you don’t have to be accurate with every single button. Just add a series of horizontal and vertical lines like I did in my example. But do make sure to accentuate the “space” button in the lower corner. Finally, draw the control panel at the very bottom (01 min 31 sec).
Before you learn how to draw A Laptop, did you know?
Computers became extremely popular in the 2000s, giving folks access to information that they never had before. But they were stationary. And while notebooks were already in mass production by that moment, they came with expensive price tags for the average user.
Thankfully, over the years, the technology became cheaper, and now the majority of people can afford a fancy laptop for work and pleasure. The greatest thing about them is mobility, which means you can take your computer with you wherever you go. And, as statistics show, people are ready to pay for that.