Learn How To Draw A Lamp Quickly
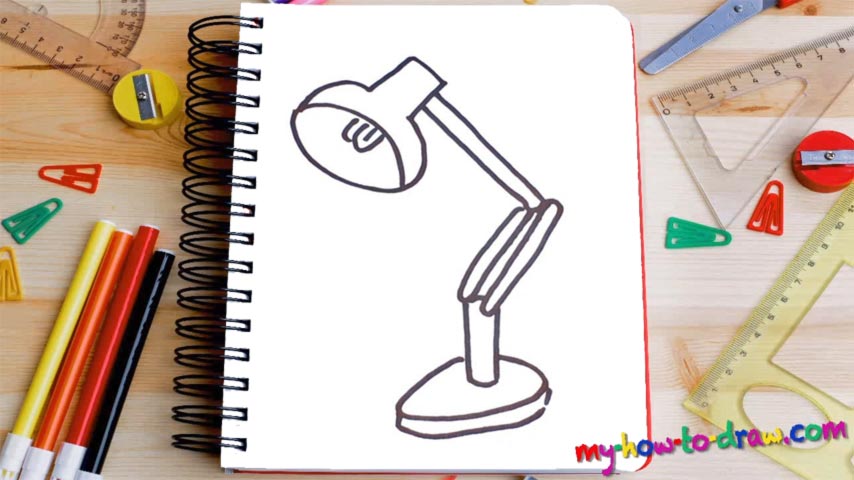
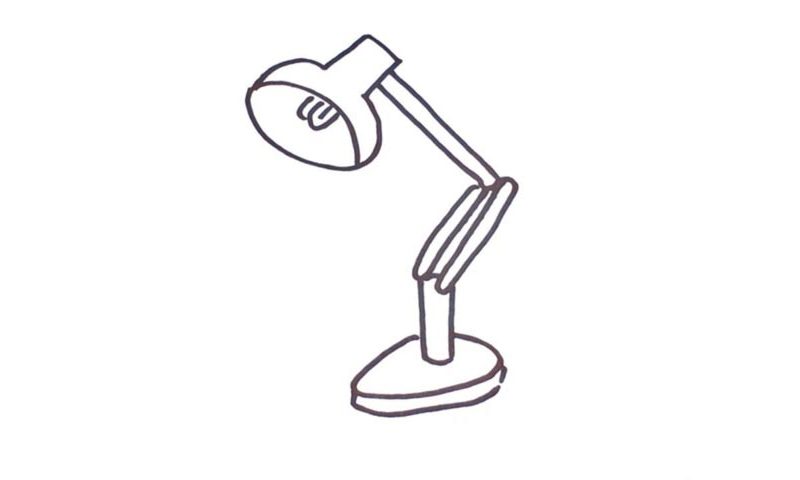
Let’s start with the top of the lamp, or, as the professionals call it, the “head” (00 min 10 sec). First of all, create an oval that looks like the ball from rugby. Next, follow my lead in the how to draw a Lamp tutorial and add the lines above it. After that, it will resemble a bottle (00 min 16 sec). The light bulb sits right in the middle of the oval.
Ok, now that the intro is done, we can move on to the rest of the “construction” (00 min 32 sec). As you can see, the parts that are holding the lamp high and allow you to fine-tune the angle are pretty long and thin. Don’t try to complete the whole thing in one go. Do exactly like I did and conquer this stage in multiple steps.
You’ve got not one, but two lines coming down and sticking to a bigger “shaft” (00 min 40 sec). Don’t rush yourself at this stage of the how to draw a Lamp tutorial, because it’s the most important one. The stand at the very bottom of the paper is the final thing to take care of (00 min 56 sec). There’s absolutely nothing hard about it. Go back to the drawing, fix whatever part you don’t like and wrap this up!
Before you learn how to draw A Lamp, did you know?
Also known as nightstands, the lamps are irreplaceable if you’re a fan of reading in your bed instead of sleeping. As sources of direct light, they are perfect for this. By the way, did you know that the so-called Argand lamps came in the 1780s and conquered the market?
They were cheaper and brighter; plus, because of a clever design, they lasted longer. Even though we don’t really use these kinds of lamps anymore – we’ve got the modern-day versions – some libraries, convents, and museums still use them for creating that amazing “historical” atmosphere.