Learn How To Draw A Blackboard Quickly
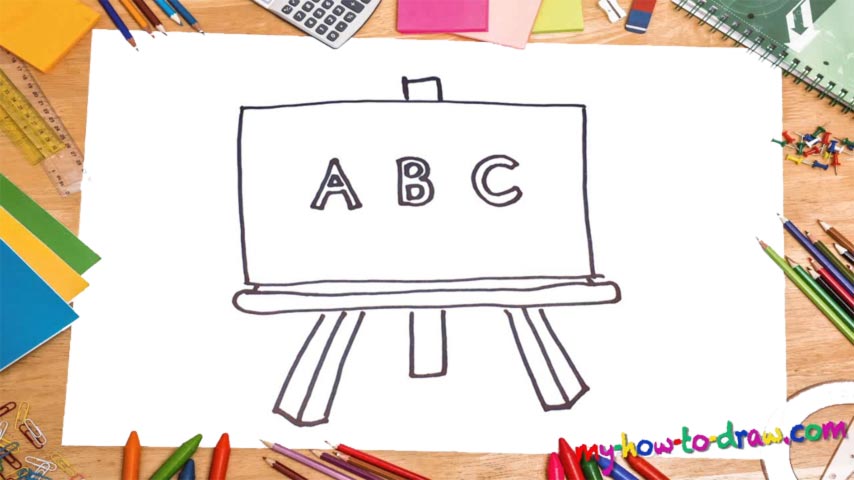
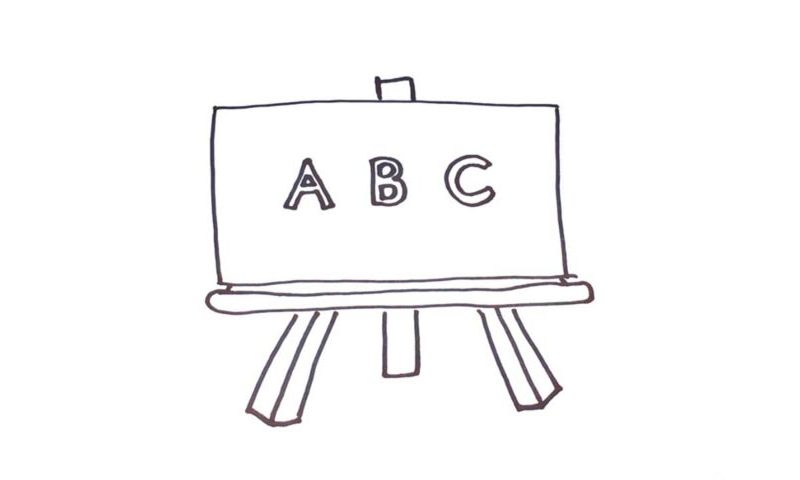
Take a good look at the final result: there’s nothing hard about this drawing. So, relax, sit back, and let’s have some fun with this how to draw a Blackboard tutorial, Ok? Start with the board itself (00 min 07 sec). It’s pretty big and has a rectangular shape that sits right in the middle of the paper. Make sure you’ve got the placement right and the lines are nice and straight.
The “desk” right below it is just as long but significantly narrower (00 min 20 sec). Once it’s done, get to the vertical stand that’s holding it from behind (00 min 30 sec). Put in the tiny upper half first before taking care of the bottom. In order for the board to be truly secured, we’ll need two props on both sides of it. Follow my lead and add them just like I did in the video (00 min 40 sec).
Ok, we’re down to the final step in this how to draw a Blackboard tutorial. If you like the props and the whole thing looks good, then it’s time to complete this lesson. See those letters I put on the blackboard? Yep, we’ll be working on them now (01 min 05 sec). The “A” comes first; the rest follow. Try to be accurate with the letters and go for something more classic, or, rather, conservative.
Before you learn how to draw A Blackboard, did you know?
If you’ve ever been to a school or even a kindergarten, then you must already know that these things are always there. Kids stand right next to them to answer the teacher’s questions and to write down some of the formulas, and, say, historical facts that were discussed.
Furthermore, blackboards are used in all kinds of big-time offices where the CEOs jot down the year-end results and show the investors the projected income from their investments. Yes, you could say that these boards are everywhere, and they make our lives just a little bit easier.