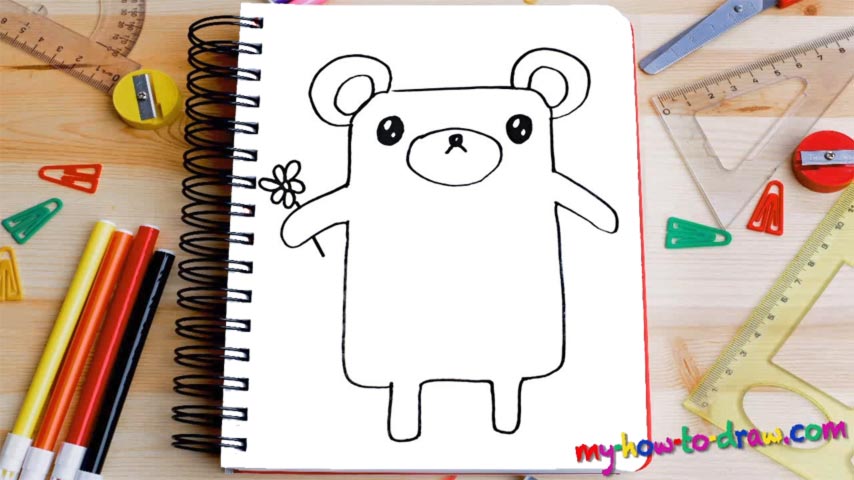
Learn How To Draw A Kawaii Bear Quickly
As you can see, the drawing is pretty basic and doesn’t come with any sophisticated parts. That means we won’t have to be super-stressed about it and can just enjoy the process. Start in the upper corner with the head and make your way to the right. This is the intro to our how to draw a Kawaii Bear tutorial (00 min 06 sec). The C-like ear connects the horizontal and vertical lines to each other, thus forming the body.
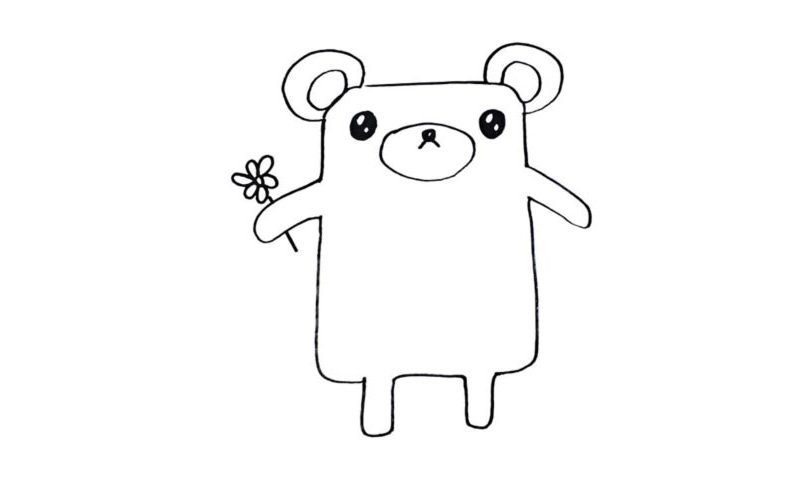
The right hand comes next (00 min 15 sec). It’s a very primitive image and won’t be a problem for us. The great thing about this video guide is that both sides of this bear are identical, except that it’s got a flower in its left hand, but we’ll get to that later. The two short shapes at the very bottom of the paper are the legs (00 min 23 sec). Once they’re in, you can go ahead and complete the body (00 min 30 sec).
The facial features are the next step in this how to draw a Kawaii Bear tutorial (00 min 55 sec). Leave two white spots in the eyes. The nose is as simple as it can be but fits the overall style perfectly. Ok, that’s actually it, dear friends. The last thing left to do is to add that flower in the left hand that I mentioned earlier (01 min 37 sec). Alright, now this tutorial is officially done!
Before you learn how to draw A Kawaii Bear, did you know?
When talking about the Kawaii drawing technique, one word comes to mind: cuteness. Even the most fierce and scary beasts turn into adorable brutes when you use the Kawaii magic on them. Just take a look at that bear! It’s not intimidating at all and could be your best friend.
In the real world, these animals are not that cute and are capable of crushing even the strongest men, especially when they’re protecting the little ones. In fact, bears are one of the strongest creatures on planet Earth and can survive in the harshest environments.