Learn How To Draw A Heart With A Key Quickly
For the heart, you’ll need two equal yet opposite curves that form the oh-so-familiar image from our favorite fairy tales and video games (00 min 06 sec). Begin with the right half. The next step in this how to draw A Heart With A Key tutorial is the handle (00 min 20 sec). You’ll need two curves that look the same but are different in size.
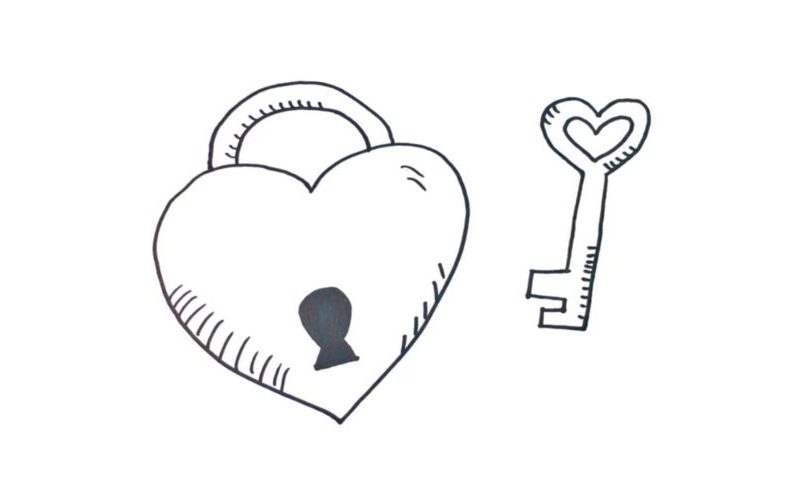
Don’t forget about those tiny lines here and there that make it three-dimensional (00 min 35 sec). After you’re done with all that, move on to the lock itself (00 min 47 sec). It’s located in the lower corner of the heart and should be colored black. Looks pretty awesome, doesn’t it? But we’re not done yet. We still have to add the key, the final step in this how to draw a Heart With A Key video guide.
It sits in the upper right corner (01 min 21 sec). The shape is very classic and resembles a musical clef. Plus, the upper half looks like a heart, which instantly makes it fit the whole composition. Start in the bottom. The top comes later (01 min 40 sec).
Before you learn how to draw A Heart With A Key, did you know?
It goes without saying that this isn’t a real lock found in regular homes and/or offices. It’s just meant to represent the feeling of being “caged in” when you love someone and have to struggle through it. And the key is, well, the answer, a way to free yourself from the agony of being captivated by someone that doesn’t really love you and/or even know you.
Or, the key might be the only thing that can open up that special person’s heart and make him/her fall in love with you as well. This image of a locked heart and a magical key is not new in mass culture. It has been in large use since the old days. The artists, sculptors and even writers of the Middle Ages were very fond of it.
