Learn How To Draw A Crane Quickly
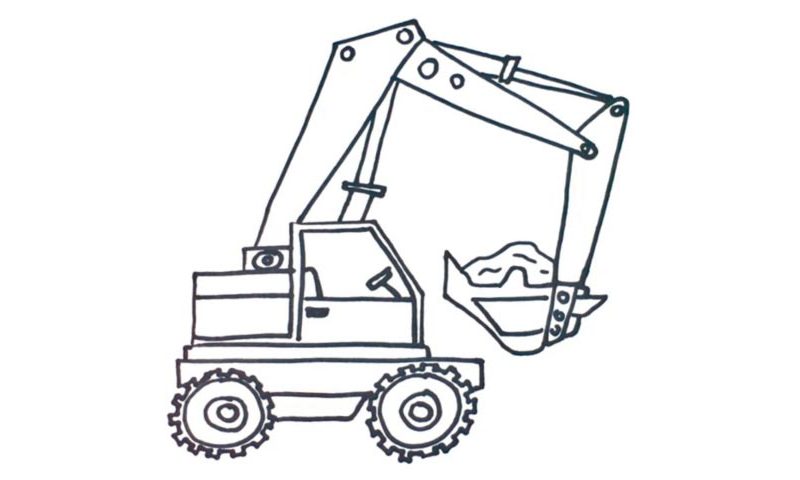
Start with the main “body” of the machine and the cabin (00 min 08 sec). The shape is very simple and looks like a piece of cardboard. Next, copy the shape of the front half and divide it into two halves for the door and the cabin (00 min 32 sec). The handle, the seat and the wheel and very basic but look good in this how to draw a Crane tutorial.
The foundation is located directly below the “box” we just created and sits on the mighty wheels (01 min 04 sec). Begin the front wheel with the circle in the center (01 min 17 sec). See that rough tire with “spikes” (01 min 34 sec)? Put it in before moving to the rear wheel. It looks the same, so, no point in describing it in details.
Alright, we’re almost done with the how to draw a Crane tutorial. It’s time to work on the metallic construction that’s doing all the heavy lifting (02 min 57 sec). The shape is very simple, and the lines are primitive. Just follow the video guide and you’ll be fine. Be, however, careful with your pen and keep the lines nice and steady.
Before you learn how to draw A Crane, did you know?
I bet that the ancient Egyptians would’ve given a lot to have a dozen of these “magical” machines to help them build the insane pyramids. This particular crane is more suited for construction work, meaning it’s used to carry cement, sand, and other heavy materials so that the specialists can build their skyscrapers.
What the Egyptians really need is the container crane that can lift things up to 100 meters and more. According to statistics, a very high percentage of little kids wants to become a crane operator. However, when they grow up, the kiddos realize that it’s actually not that romantic and requires skills, dedication, and professionalism.
