Learn How To Draw A Great Blue Heron Quickly & Easily
Unless you’re an experienced artist, it will be hard for you to keep the proportions without some guidelines. For that reason, we’ll start the how to draw a Great Blue Heron tutorial by adding a tiny circle in the upper right corner (00 min 07 sec). The arrow on the right side is for the beak. Next, use an S-like vertical shape for the bird’s neck (00 min 10 sec).
At the bottom of it, draw another circle, a much bigger one. For the body, we used two similarly-shaped curves – make sure you do the same (00 min 14 sec). The feet are just two skinny lines. And now that the guides are in place, let’s get right to it (00 min 20 sec). The eye is a black circle with a white spot.
The beak should be divided into two parts with a horizontal line. The “dreads” follow (00 min 28 sec). Next, use two similar lines to make the neck thicker (00 min 37 sec). Most of the body is covered by the left wing (00 min 40 sec). Use fluffy lines for this part of the how to draw a Great Blue Heron tutorial. To complete the drawing, work a bit more on the legs and add the claws (00 min 55 sec).
Before you learn how to draw A Great Blue Heron, did you know?
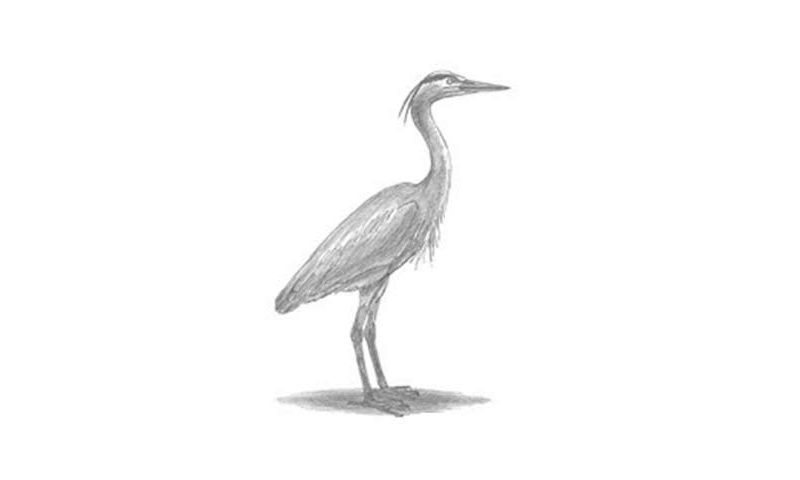
These birds are pretty big and mostly eat fish. That’s why you’ll always find them “hanging out” near open water: they’re stalking the clueless prey. The Americas is where the great blue herons mostly live. The average height of this species is 115-140 cm; as for the average weight, it reaches up to 3.5kg.
Yep, for birds, they are quite large and heavy. At the same time, the great blue herons are unusually fast and flexible for their size. If you ever get lucky enough to see one in real life, pay extra attention to the beautiful combination of grey feathers, brown thighs, and reddish stripes up the flanks. The rest is mostly blue, as the name suggests.
