Learn How To Draw A Wyvern Quickly & Easily
Essentially, this is just a bird and comes with all the common features. To get the proportions right, start this how to draw A Wyvern tutorial by adding two circles – one in the middle, and another, a bit smaller, to the right (00 min 07 sec). Connect them to each other with simple lines and switch to the wings (00 min 22 sec). Now the drawing looks like a spider, right?
Well, it’s gonna change soon! Move to the bottom to work on the legs and the tail (00 min 31 sec). Remember: these are just guidelinesю The eyes follow (00 min 41 sec). Don’t try to make them enormous – the smaller, the better. While shaping the face, try to make it really sharp, demonic-like (00 min 53 sec). It’s got spikes all over the head.
Alright, now we can get to the final part of the how to draw A Wyvern tutorial – the wings and the tail (01 min 20 sec). Follow my lead closely on this one. The tail should be covered in spikes and have an arrow-like tip. As for the wings, make sure they are larger than the body and look like parts of a tent.
Before you learn how to draw A Wyvern, did you know?
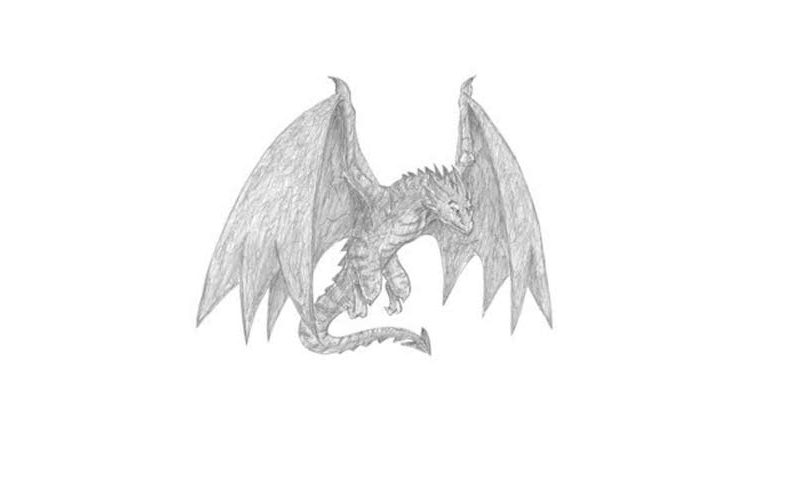
Commonly known as just dragons, wyverns are generally a lot smaller and more flexible. These mystical creatures have the body of a reptile, the wings and the head of a dragon, and a fancy tail with a sharp tip. In the US and Canada, you can find wyvern serving as a mascot in many athletic teams/schools, which is awesome.
In Europe, these dangerous beasts are frequent guests in all kinds of fantasy books, movies, series, and, of course, video games, especially in the UK. Even though some wyverns can breathe out fire or even frost and poison, most of them prefer to attack with their strong feet and that deadly tail.
