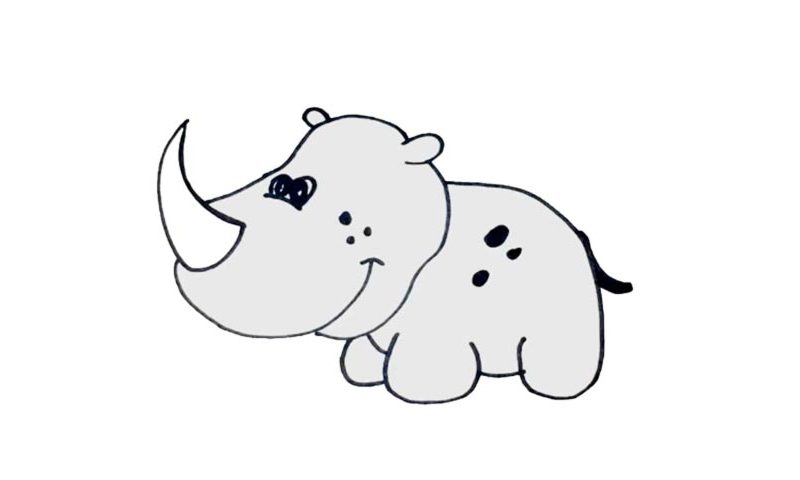
Learn How To Draw A Rhino Quickly
The horn comes first in this lesson (00 min 08 sec). It should be nice and sharp, pointing towards the sky. Once it’s in place, move on to the animal’s head (00 min 18 sec). Divide this part of the how to draw a Rhino tutorial into two parts. Use a curvy line that will connect the lower half of the horn to the head and put the mouth where it belongs.
Don’t forget about that cute ear before moving on to the facial features (00 min 33 sec). The “wrinkles” sit in the middle of the head. The eyes are tiny and sit very close to each other, creating a cartoony atmosphere. Ok, we’re officially done with the hardest part. Now let’s complete this how to draw a Rhino tutorial by adding the body (00 min 57 sec).
The legs are quite short and wide, to support the heavy beast. The tail is very short – color it black (01 min 08 sec). The dots are the final thing to take care of (01 min 14 sec).
Before you learn how to draw A Rhino, did you know?
In Ancient Greek, rhinoceros literally means “the nose-horned one.” As one of the most fascinating animals to ever live, the rhinos are frequent guests in many cartoons. They are one of the 5 extant species that belong to the Rhinocerotidae family. Most rhinos reach 1 ton in weight, which is a rare thing for a mammal. On the other hand, they have tiny brains (only 500-600 grams).
Their skin is one of the most interesting parts. It can be as thick as 5 centimeters and does a great job of protecting the body. Interesting fact: the African rhinos don’t really have any teeth at the front of their jaws (or, rather, mouths), and use the strong lips to chew the food. Leaves make up a huge part of their diet. Unfortunately, the poachers that hunt after rhino horns are putting the population in danger.
