Learn How To Draw A Doctor Quickly
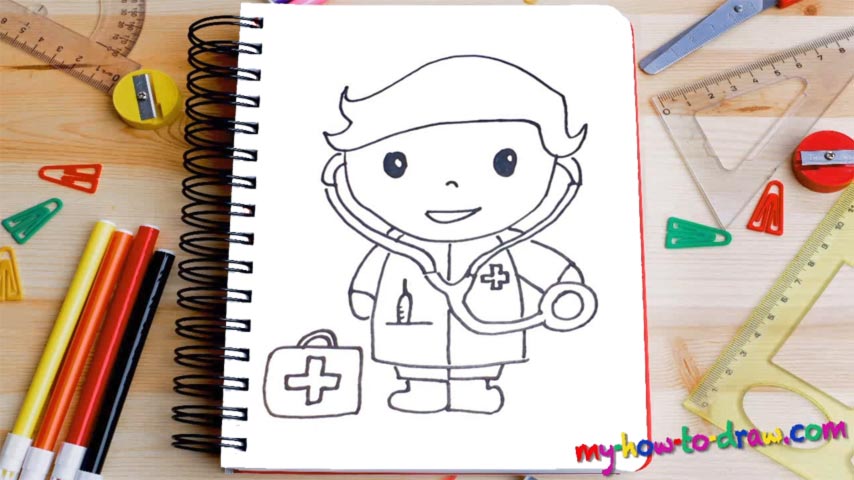
Begin with that curvy line that covers the bottom of the face (00 min 07 sec). Once it’s in place, move on to the next step in this how to draw a Doctor tutorial – the fancy haircut (00 min 14 sec). Looks a bit like Donald Trump, huh? The facial features are very basic: you’ve got two tiny ovals for the eyes and two primitive shapes for the nose and the mouth (00 min 25 sec).
The stethoscope follows (00 min 44 sec). If you ever had your blood pressure checked, then you already know what it is used for. It kinda resembles the letter “Y”, doesn’t it? If you’re happy with everything so far, let’s take care of the body (01 min 18 sec). Our doc is wearing a standard “robe” with that famous symbol in the right corner (01 min 28 sec).
The hands, the next step in this how to draw a Doctor tutorial, are nice and easy. The right one comes first (01 min 37 sec). They’re both a piece of cake. The super-short legs look cute and add to the overall picture (02 min 00 sec). That briefcase on the left is the last step (02 min 10 sec).
Before you learn how to draw A Doctor, did you know?
As far as the most important people on the planet go, doctors are, without a doubt, on top of the list. Their only task is to save lives, and nothing can be more important than that. Back in the day, they didn’t have any tools and/or devices to help them in their work.
Thankfully, in the 21st century, doctors all around the globe have great technology at their disposal that makes their job easier and allows saving even more lives. A wrong diagnosis can make it or break it for a person, and that is exactly why the exams at the medical institutes are one of the toughest ones out there.