Learn How To Draw A Foot Quickly
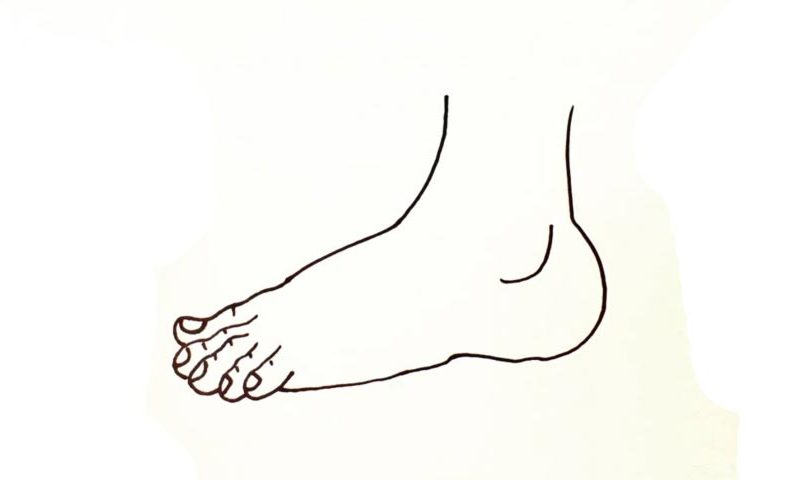
This is a very simple tutorial, dear friends. At the same time, it’s anatomically correct and will teach you a trick or two about drawing human body parts. So, if you want to learn how to draw a Foot, let me guide you with my video. Start in the right corner with a straight line (00 min 04 sec). To cover the bottom, add a curve that looks like the reversed letter “C”.
See that line that goes all the way to the little toe (00 min 16 sec)? It should be tilted a bit for a more realistic image. If you’re happy with it, then it’s time to take care of the five toes. They are very much alike and come with the same features. However, it’s very important to make sure all the tiny differences are there.
Each toe comes with a nail and one or two vertical lines for the folds (00 min 30 sec). The big toe has more “individuality” them the rest of them (01 min 02 sec). To complete this how to draw a Foot tutorial, use two lines to cover the top. And don’t forget about the tiny curve for the bone in the lower right corner (01 min 21 sec).
Before you learn how to draw A Foot, did you know?
As one of the most vital parts of our bodies, our feet deserve a round of applause. They carry all that weight and help up drive cars, operate sophisticated mechanisms, and become great runners. Without feet, the vertebrates wouldn’t have been able to walk properly. By the way, did you know that the human feet come with a total of 33 joints and 26 bones each?
Yes, that’s true, and they all work in synch with one another and with 100+ ligaments and muscles. We come with five toes on each foot and have limited control over them. Take care of your feet and don’t put too much pressure on them. Regular walks and/or jogs will help you strengthen the muscles and the bones, not to mention give you a chance to rest and enjoy the nature.
