Learn How To Draw A Flamingo Quickly
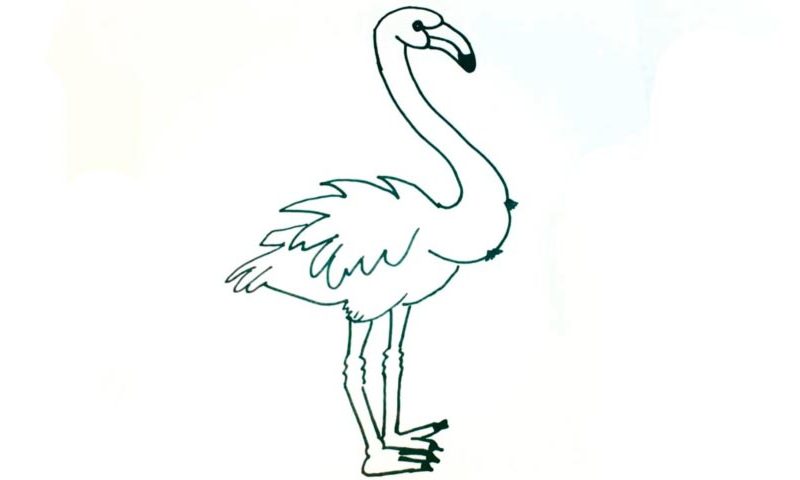
The elegant beak comes first (00 min 07 sec). It has a black dot on the tip and features round, smooth lines. The curves that shape the face look like a reversed heart (00 min 30 sec). Don’t forget about the tiny heart in the center (00 min 42 sec). The neck, the next step in this how to draw a Flamingo tutorial, looks like the letter “S” (00 min 52 sec).
It’s very curvy on both sides. The one and only visible wing looks like a huge leaf (01 min 18 sec). Use sharp zigzag-like lines for it. The tail is very similar but considerably smaller and sits in the left corner (01 min 40 sec). To complete the bottom of the belly, use a series of simple curves just like I did in the video.
The legs are the final part of this how to draw a Flamingo tutorial. They are nice and tall (02 min 00 sec). The claws are pretty sharp, while the legs are skinny and the lines get “wavy” in the middle. Ok, that’s it for today’s lesson!
Before you learn how to draw A Flamingo, did you know?
Overall, there are six flamingo species living on planet Earth. Two of them are found in the so-called Old World, while the remaining four are in the Americas (that includes the entire continent). By the way, do you know where the name comes from? It’s a Spanish word that literally means “flame-colored”. They do, indeed, look like they’re burning up.
As wader birds, flamingos usually hang around in shorelines and/or mudflats searching for food. They feed on insects mainly. To this day, the taxonomy of these creatures is a subject of great debates. Some folks say they are waterfowl, while others claim flamingos belong to the same group as the doves. I wonder if the birds themselves care what we call them :).
