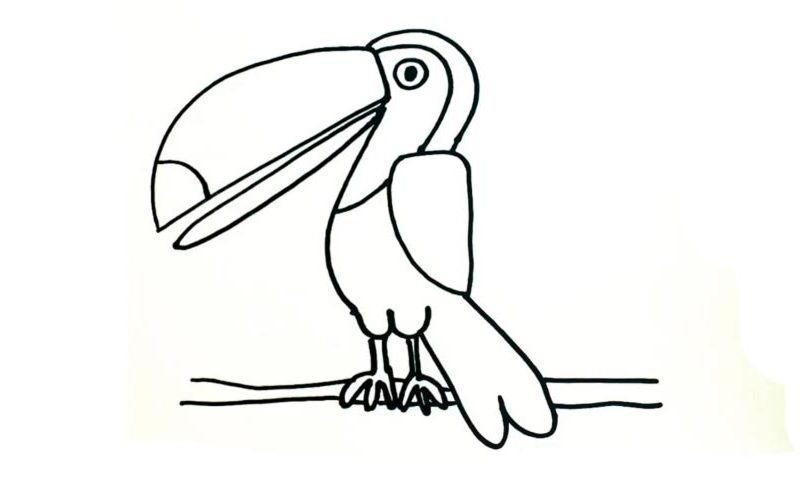
Learn How To Draw A Toucan Quickly
We start in the lower left corner with a curve (00 min 10 sec). Next, use a straight line to connect the two sides to each other and create a beak – one of the most important parts of this how to draw a Toucan tutorial (00 min 16 sec). Wait, that was the upper half. Now let’s complete the lower half (00 min 23 sec). It’s a lot thinner and easier to draw.
As for the head, you’ll need a C-like curve to make it look good (00 min 52 sec). Use two simple circles for the eye (01 min 00 sec). To cover the left side of the body, you’ll just need one smooth line (01 min 11 sec). The legs sit at the bottom of the drawing (01 min 30 sec). They are identical to each other and come with three fingers.
The wing, the next step in this how to draw a Toucan tutorial, looks like a shield (01 min 56 sec). Once it’s in place, add the big, fluffy tail (02 min 10 sec). It connects the legs to the rest of the body. Finally, create two horizontal lines to imitate the ground (02 min 20 sec). Ok, that’s pretty much it! Doesn’t our bird look absolutely adorable? If you want, go ahead and color the beak and the eye to make it all look even better.
Before you learn how to draw A Toucan, did you know?
These birds come with bright bills and belong to the Ramphastidae family (it’s pretty hard to pronounce, I know). Overall, there are 40 species in this family, and the Toucans are, without doubt, one of the most popular members. They do not migrate, by the way.
The Toucans usually hide their nests in tree hollows and other hidden spots; when the eggs hatch, the “birdies” are completely defenseless. Usually, these birds tend to stick together and you’ll find them living in tiny flocks. Those big bills aren’t good for excavation, but look good nevertheless.

