Learn How To Draw A Finger Quickly
As you might’ve already guessed from the preview, this is an incredibly easy lesson. All we have to do is look at one of our fingers and try to duplicate it on a piece of paper. You should start this how to draw a Finger tutorial in the lower right corner (00 min 08 sec). Essentially, we need a tall and thin shape in the middle of the composition.
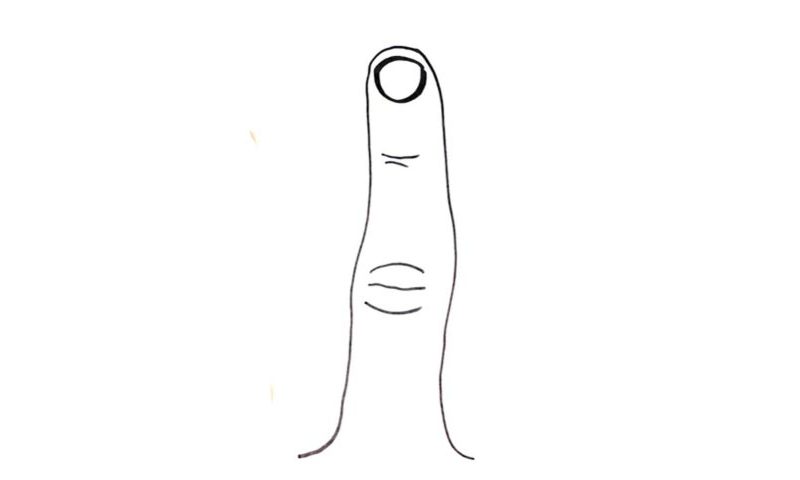
Make sure you get all the tiny curves and bends right, as our fingers aren’t really 100% straight and the bones tend to become wider in some spots and thinner in others. The nail sits in the upper corner and looks like some sort of a medieval shield (00 min 27 sec). Well, this is actually it! All that’s left for us to do is add the wrinkles here and there for a more realistic look.
This part of the how to draw a Finger tutorial is a piece of cake (00 min 35 sec). You’ll need two short lines right below the nail and three longer ones in the middle of the drawing. As you can see, it’s pretty easy to draw fingers!
Before you learn how to draw A Finger, did you know?
We, the humans, come into this world with five fingers on each hand. And while you might not appreciate them as much as you should, just think about how harder life would be if you lost even one finger. The medics and the biologists claim that the human fingers are one of the most sophisticated “constructions” not only in the world, but also in the universe.
Even though the modern-day robots do look impressive, they are miles away from doing what we can with our hands. And get this: without the thumb, it will be almost impossible to grab things, play an instrument, shake hands, write something down, or do pretty much anything else. Yep, it is the thumb that allows us to do all those things and sets us apart from most mammals (the primates do have five fingers as well, though).
