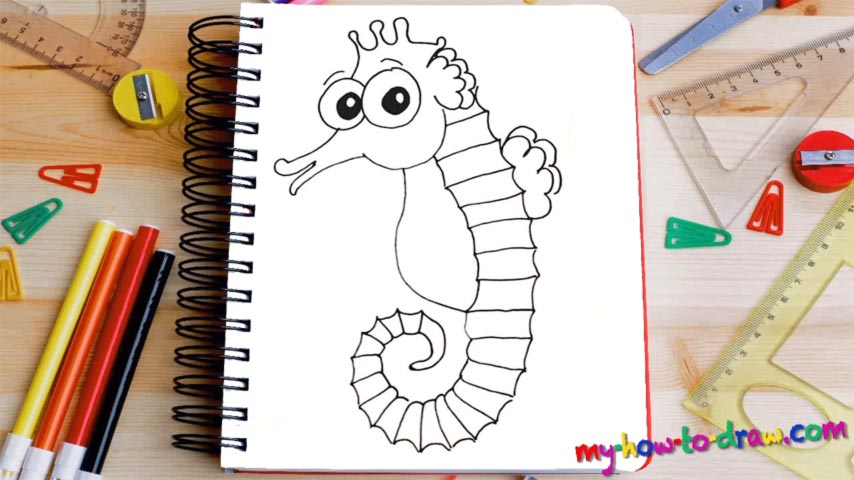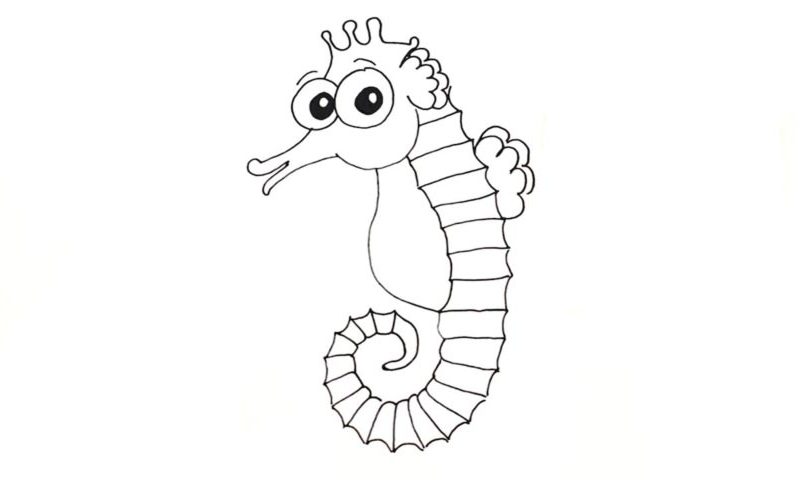
Learn How To Draw A Seahorse Quickly
Let’s start with this guy’s funny long mouth (00 min 07 sec). The eyes are incredibly big and are looking directly at us (00 min 24 sec). You’ll need three circles for this part of the how to draw a Seahorse tutorial. Or, rather, two circles with the smaller one colored black with a white dot in the very middle for a more realistic look. The crest on top of its head is next on the menu.
It resembles a king’s crown a bit (01 min 04 sec). The “ear” (it’s a fin, actually) sits in the right corner and consists of two identical shapes. If you’re happy with everything so far, then it’s time to take care of the body (01 min 45 sec). All you’ll need for that part is a long “skeleton” with a twist at the very bottom. Keep adding those lines like you see in the video.
The final stages in the how to draw a Seahorse tutorial are the belly and the fins on the side (04 min 00 sec). For the belly, you’ll just need a simple vertical line. For the fins, you’ll need the same shape as with the “ear” we drew earlier.
Before you learn how to draw A Seahorse, did you know?
We use this term to describe 54 different underwater creatures. From Ancient Greek, the Hippocampus family (genus) that seahorses belong to can be translates as “beasts of the sea that look like horses.” They do actually look a lot like horses and usually like to hang around in shallow waters around the world. Reefs, mangroves – that’s where they find shelter.
Seahorses are pretty tiny and range in size from 1.5 to 35 centimeters. Now, even though they are classified as fish, these beings don’t have any scales whatsoever. And, they swim upright. Without a doubt, seahorses are pretty amazing and look like guests from another planet.