Learn How To Draw A Pear Quickly
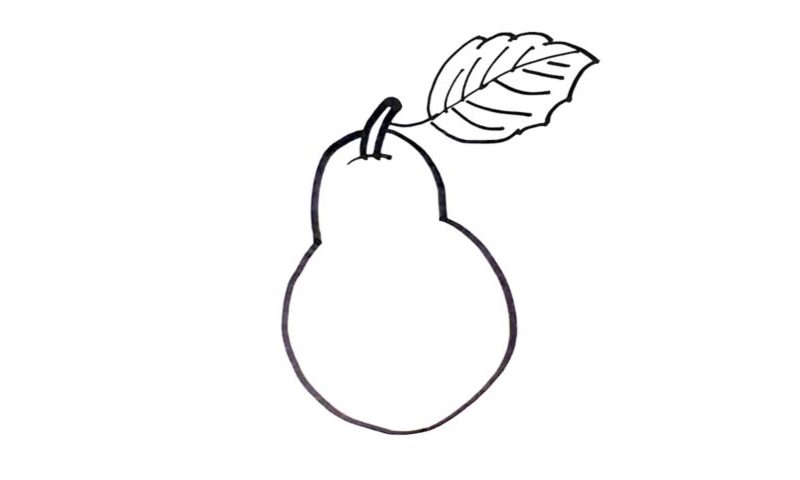
This video guide is as easy as they come. We’ve got a very simple drawing of a delicious pear that will look good in any environment. Let us begin this how to draw a Pear tutorial in the lower corner of the paper with a nice and smooth circle (00 min 06 sec). It’s always a good idea to divide an otherwise difficult shape into several simpler parts.
Leave some space at the top and move on to the next half. Basically, you’ll need two primitive vertical curves on both sides that will make the fruit look like a doll (the famous Russian Matryoshkas are very similar). The “tail” sits in the upper corner (00 min 26 sec). The beautiful leaf is the final part of this how to draw a Pear tutorial (00 min 35 sec).
It’s a standard leaf with “cut” corners and a series of simple lines inside. Ok, that is pretty much it for this video. If you want, go ahead and paint every single part of the drawing. I’d recommend using a combination of yellow and orange for the pear.
Before you learn how to draw A Pear, did you know?
Who doesn’t like pears, right? Especially when they’re colored in green and red and taste really sweet. People also make pear juice that is wildly popular around the world. The trees are usually pretty big and can be as tall as 17 meters. Along with apples, pears are one of the most popular and affordable fruit on planet Earth (in most parts of it, anyway).
Now, unless you’re a pro at this, you won’t be able to tell the difference between certain species of pears and apples. There are approximately 30 species of pears in the world. However, in Europe and America, only 5-7 species are available at the regular stores. China is the biggest producer and is good for 18 million tones every single year.
