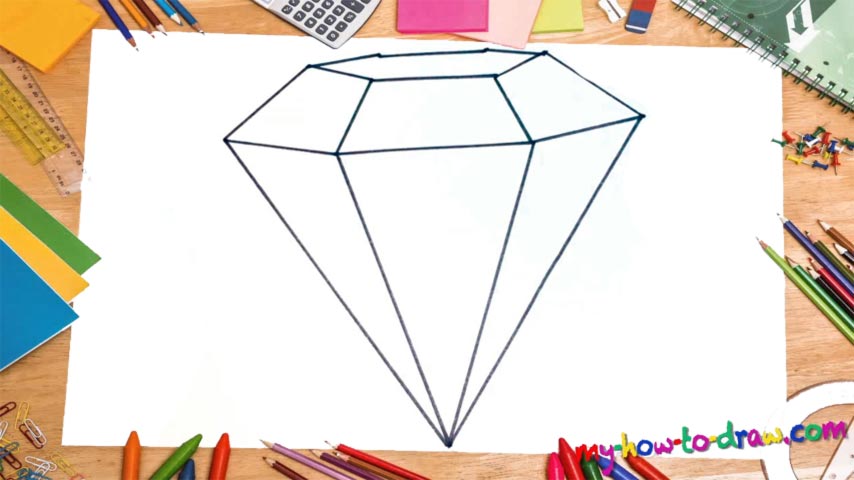
Learn How To Draw A Diamond Quickly
In this lesson, accuracy is everything. You won’t need any smooth curves: only straight, “scientific” lines to accentuate the rough edges of our native material. Let us start this how to draw a Diamond tutorial by creating a triangle in the middle of the paper (00 min 12 sec). Use a ruler to make sure all three sides are straight. Do exactly like I did.
Keep in mind that the drawing is a bit tilted in order for the diamond to look good. Once the triangle is done, move on to the left side (00 min 55 sec). Both “wings” are identical to each other, which means once you master the left one, the right side will be a piece of cake. Four lines – that’s all you’ll need for this part of the how to draw a Diamond tutorial.
The upper half is a bit trickier (01 min 53 sec). Overall, there are four “sections” and they all sit on top of each other. If you follow my lead, you’ll see that there’s nothing hard about this. Again, let the ruler guide your hand and make sure the opposite lines are equal in length.
Before you learn how to draw A Diamond, did you know?
Did you know that diamonds are among the sturdiest materials on planet Earth? In fact, when it comes to hardness, there’s no match for them. That is exactly why for polishing and cutting, diamonds are the best tools. We have been using them in industrial production for decades. Without these native minerals, many big projects might never see the light of day.
At the same time, the ladies love diamonds because they are shiny and look good on a necklace or a wedding ring. They are quite expensive, though, so, if you’ve got a special girl that deserves a gift like this one, you’ll have to start saving money right now!