Learn How To Draw A Bus Quickly
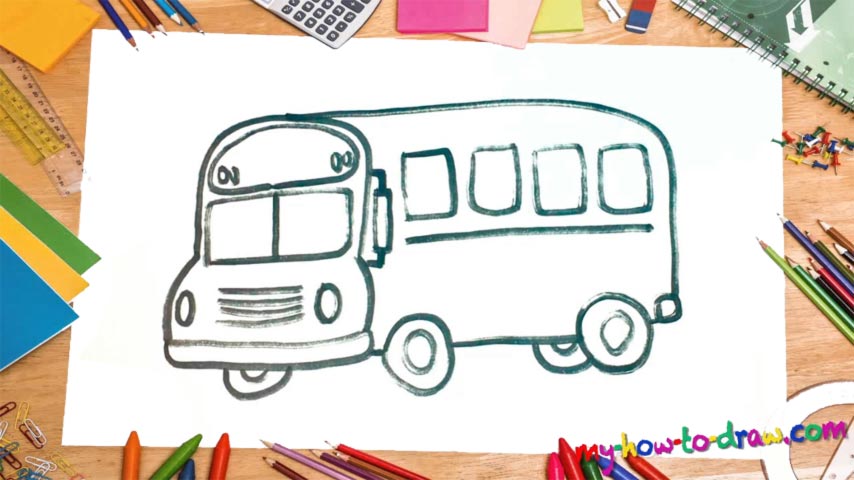
The front half of the vehicle comes first (00 min 05 sec). The outline looks a lot like a light bulb sitting on its head. The windows, the next step in this how to draw a Bus tutorial, are located right in the middle (00 min 30 sec). The lights – two circles – sit at the very bottom (00 min 40 sec). For the upper half, you’ll need an oval-like shape with four tiny circles (01 min 00 sec).
Ok, it’s time to move on to the main “body” of the bus. Start with a long and curvy line that will cover the top and the right side (01 min 12 sec). The tires come next (01 min 25 sec). They look identical to each other and won’t require any special skills to master. The ones in the back (or, rather, the left side) are only half-visible (01 min 44 sec).
The windows for the passengers are the final stage of this how to draw a Bus tutorial (01 min 55 sec). There are four in total, and they’re equal in size and shape. To complete the lesson, add the side mirror (02 min 14 sec). Ok, that’s it for today!
Before you learn how to draw A Bus, did you know?
Even if you don’t like to wake up early to go to school, I bet you still love those bus rides. These road vehicles were specifically designed to carry big numbers of passengers. Some of the biggest buses out there can take in up to 300 folks! The most popular types are the single-deck ones; however, the famous English double-deck buses look and feel awesome.
Now, while the city transit buses will charge you for the ticket, the school buses will take you to your destination for free! The classic US-built yellow buses have been featured in more Hollywood movies than we can count and represent the very essence of the American spirit.