Learn How To Draw A Dalmatian Dog Quickly & Easily
To make things easier for us and to get the proportions right, we should add three circles of different sizes for the body and the head first. Start this how to draw A Dalmatian Dog tutorial in the middle of the paper (00 min 07 sec). Once the two circles are in place, add another one in the upper left corner.
It will serve as the dog’s head (00 min 14 sec). Don’t forget about the dividing lines and yet another circle for the mug. The legs are simple, thin guidelines (00 min 23 sec). But it’s important to get the angles right. The eyes are the next step (00 min 33 sec). They’re pretty standard, with white spots.
The nose should sit a bit higher than usual (00 min 43 sec). For the ears, use the triangle-like guidelines to get the sizes right (00 min 55 sec). The legs, the final part of this how to draw A Dalmatian Dog tutorial, will be easy if you followed our advice earlier (01 min 04 sec). To complete the drawing, simply connect all the separate parts to each other (01 min 29 sec).
Before you learn how to draw A Dalmatian Dog, did you know?
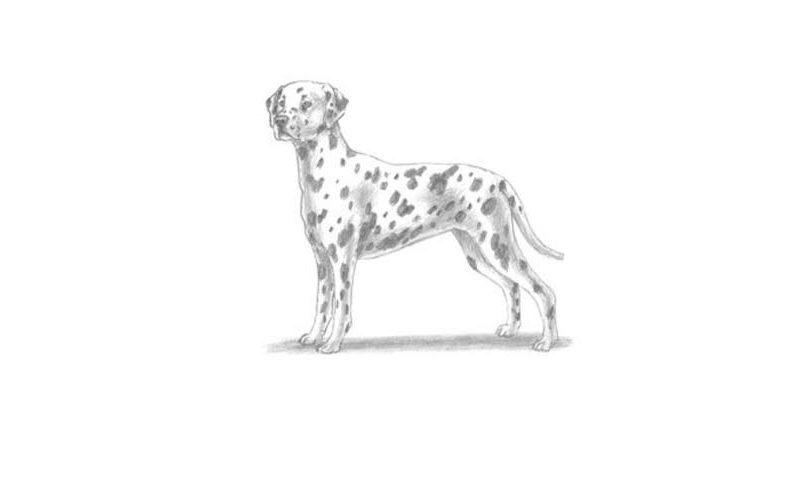
These medium-sized beauties are recognized around the globe for their unique coats. Those black dots look really great on their white skins and make them modern-day superstars among dogs. Interesting fact: back in the day, the Dalmatians were considered to be incredibly strong and flexible.
The merchants and the traders valued their fighting skills and used them to protect high-valued carriages. By the way, do you know where this breed comes from? Croatia. Yes, that’s their original home. In the 21st century, Dalmatians became incredibly popular as pet dogs – the kids love them!
