Learn How To Draw A Diplodocus Quickly & Easily
We start by adding a medium-sized circle in the middle of the paper (00 min 07 sec). Then, draw two half-ovals on both sides to make it look like a human eye. The neck comes next in this how to draw A Diplodocus tutorial (00 min 16 sec). In the far left corner is where the head sits.
You’ll need another circle and half-oval for it. The tail is just one long and thin line that resembles the question mark a bit (00 min 20 sec). The legs are just four regular lines. Ok, now let’s get to the real thing (00 min 28 sec). The tiny eye sits in the upper corner of the head. For the mouth to look realistic, cut the half-oval we drew earlier into two parts (00 min 33 sec).
The legs should be nice and thick (00 min 42 sec). They all come with four toes; make sure the angles are right. To complete this how to draw A Diplodocus tutorial, go back to the head and work on the neck (01 min 06 sec). The tail should copy the guideline but make it wider (01 min 17 sec).
Before you learn how to draw A Diplodocus, did you know?
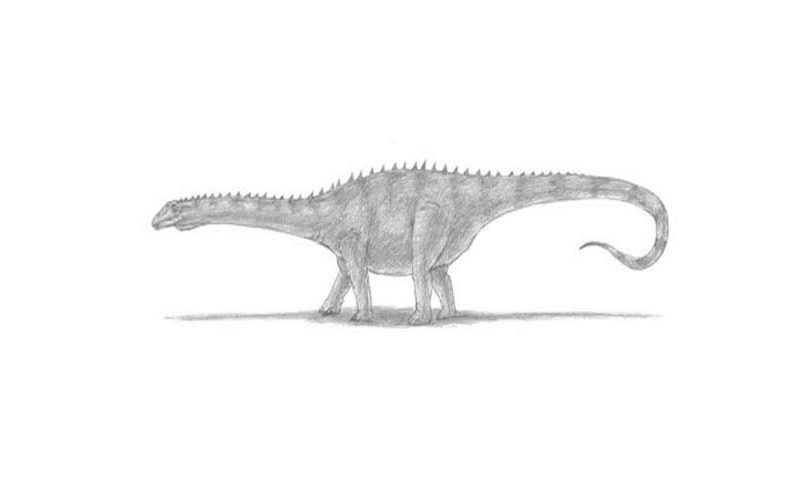
These dinosaurs aren’t fake like most of them. In 1877, Mr. Williston made a discovery that proved the existence of such a breed. Just take a good look at this beast: isn’t it absolutely amazing with those long tail and neck? It’s common for a dinosaur to have long limbs, but this is a rather unique case, even for the Jurassic Period.
According to the historians, they used to live in North America (the mid-western parts of the continent). Those big, sturdy legs and the trademark long neck and tail make Diplodocus one of the most popular and easy-to-recognize dinosaurs out there. And, they’re also pretty easy to draw!
