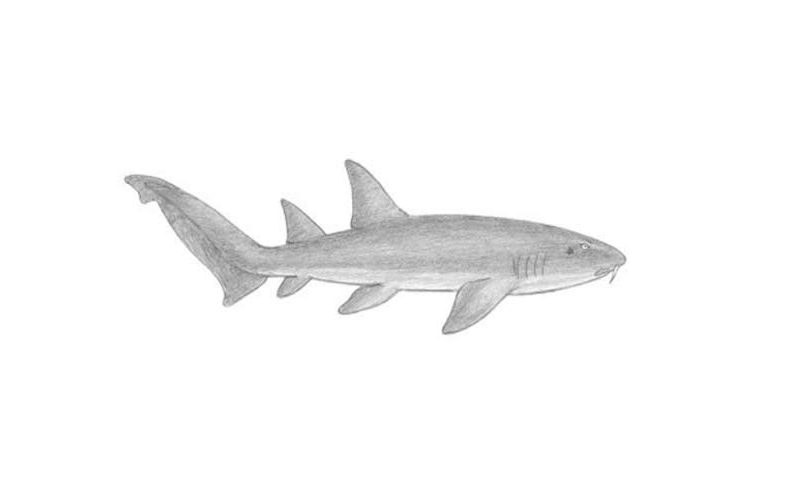
Learn How To Draw A Nurse Shark Quickly & Easily
For the body of the shark to be nice and evened out, we’ll need two circles sitting next to each other (00 min 07 sec). Once they’re in place, draw a long oval shape with sharp edges on both sides (00 min 15 sec). That’s pretty much it for the intro to the how to draw a Nurse Shark tutorial. Looks a bit like a futuristic car, at this point, right?
The fins – five in total – and the tail follow (00 min 23 sec). All you’ll need is a series of simple triangles. If you think that the whole thing resembles a jet plane, that’s totally ok. Move to the right half of the paper to work on the eye (00 min 34 sec). Don’t forget about that scary tooth.
The creases in that guiding circle will make it look more realistic (00 min 46 sec). The fins don’t really need many changes. The tail, however, should be thickened a lot (01 min 08 sec). Alright, that’s it for the how to draw A Nurse Shark tutorial. To complete the lesson, don’t forget to get rid of the guiding lines with an eraser (01 min 15 sec).
Before you learn how to draw A Nurse Shark, did you know?
Even though these sharks aren’t really that aggressive, they are ranked #4 in shark bites, simply because regular divers tend to act too wild around them. From a scientific point of view, the nurse sharks are invaluable because they tolerate capture better than any other shark species.
But don’t let what we just said fool you: these guys reach 3 meters in length and weigh as much as 200-250 kilograms. Just imagine an underwater beast that big biting your leg! The newly-born sharks come with spotted bodies; the adults, in turn, are brown in color. Most of the time, these predators prey on fish.

