Learn How To Draw A Crocodile Quickly
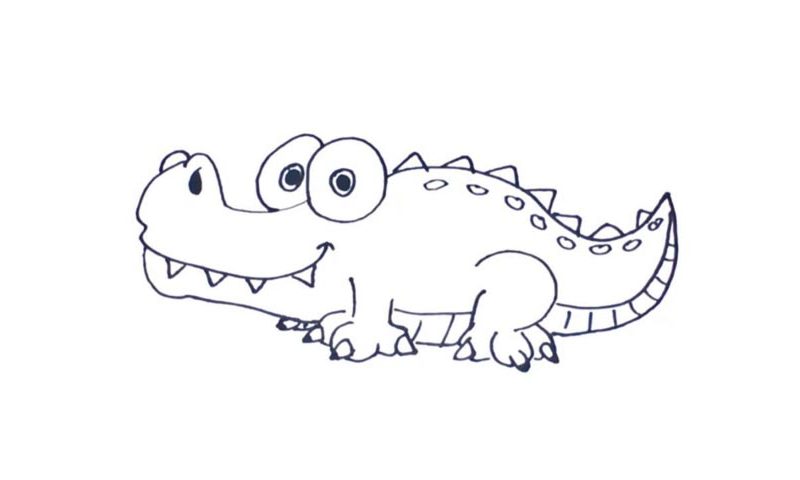
The proportions in this particular drawing are exaggerated for that cute and cartoon vibe. But it still looks awesome, and that’s why we’ve picked this how to draw a Crocodile tutorial for today. The mug comes first. Since it’s a reptile we’re dealing with, it’s no surprise that it features a long jaw (00 min 07 sec). Follow my guide and be smooth with your lines.
That tiny oval in the top is the nostril (00 min 18 sec). The lower jaw sits right below the upper one and completes the front of the head (00 min 28 sec). You’ll need one simple curve for it. See those two ovals (00 min 37 sec)? They are the huge eyes that sit close to each other and even overlap a bit. The teeth are the final part of the head – the animal has four in total (01 min 01 sec).
Now it’s time for us to move on to the next step in this how to draw a Crocodile tutorial – the body (01 min 10 sec). One long and curvy line will cover the back and the tail. Once it’s in place, go ahead and add the scales and the spikes. The legs and the scary claws follow. Put in the rear leg first – use a C-like line for that (01 min 52 sec). It’s got three fingers on each leg and three claws.
Before you learn how to draw A Crocodile, did you know?
As one of the most dangerous animals on planet Earth, these guys aren’t to be messed with. Even if a crocodile isn’t starving, he/she will still attack and tear your apart, simply because that’s in their nature. So, stay as far away from them as possible on your majestic trips.
The scientists claim that crocodiles are the descendants of the dinosaurs and have the same state of mind, so to speak. Big, strong, and with a super-thick skin, these reptiles aren’t afraid of anything and feel like kings in the water. Hippos are their biggest enemies.
