Learn How To Draw A Christmas Ball Quickly
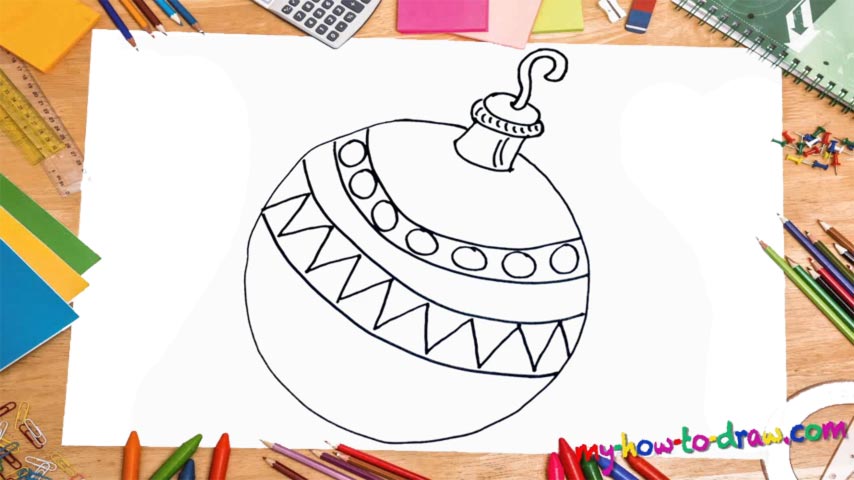
The circle we’re about to create right in the middle of the paper is the most important (and the biggest) part of this how to draw a Christmas Ball tutorial. It must be of just the right size (00 min 06 sec). And while you should try to make it nice and round, there’s no point in turning it into a super-smooth ball, because the ornaments are sometimes pretty “rough”.
If you’re happy with the main body, go ahead and start working on the “handle” with that hook on top of it that looks like a question mark (00 min 21 sec). Now, you could close this video guide and claim that you’re already done with the ornament. But wait – I’ve got a great texture in mind! We’ll need four horizontal lines for this to work (00 min 52 sec).
The first three sit on top of each other, while the one at the bottom is further away. This is the last stage of the how to draw a Christmas Ball tutorial. Put circles between the two lines at the top. The lines at the bottom house a whole bunch of reversed triangles (01 min 24 sec). Our ornament looks a lot better now that we added all those lines and circles, right?
Before you learn how to draw A Christmas Ball, did you know?
There won’t be a proper Christmas celebration without a dozen of ornaments all over the place, right? Come on, the tree needs to be covered in all kinds of shiny toys/balls to give it that majestic look! These decorations are a vital part of Christmas – that’s not a discussion.
Back in the day, we used to have only one or two varieties of the ornaments. But the 21st century brought us a huge number of different shapes, sizes, materials, and everything else in between. There are some unique artistic designs that will take your breath away.