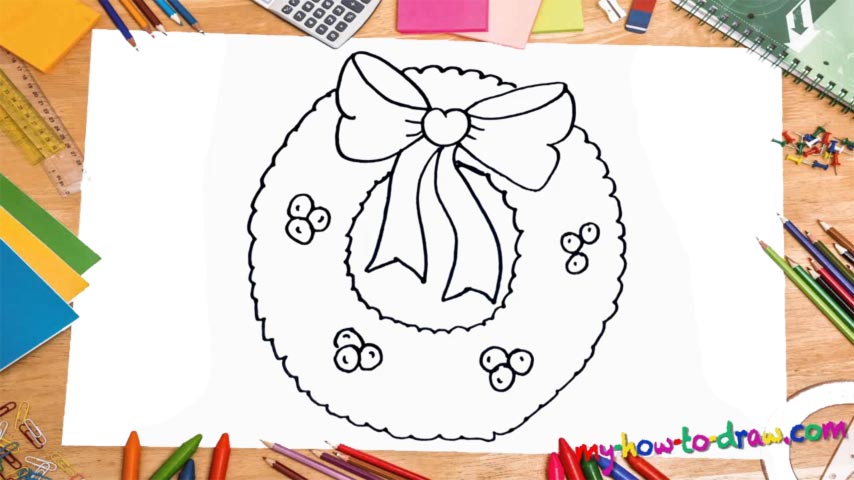
Learn How To Draw A Christmas Wreath Quickly
This is a very common and basic image that looks quite realistic and will be a great addition to your collection of man-made objects. Begin with the bow at the very top, or, rather, that circle in the middle (00 min 06 sec). Nothing hard about it – we’ve been drawing bows on this website since the early days! It’s got two identical ribbons coming down (00 min 38 sec).
Ok, now that we’ve got that out of the way, let’s move on to the next step on this how to draw a Christmas Wreath tutorial (00 min 56 sec). The main body of the wreath shouldn’t be done in straight or curvy lines – use “waves” for that. Once it’s in place, go ahead and add a smaller circle inside the original one (01 min 25 sec). Everything already looks pretty great, right? But we’re not done with this how to draw a Christmas Wreath video yet!
The last thing on the menu is the cute mistletoes all over the place (01 min 43 sec). We’ve got four “packs” in total with three tiny “grains” inside each. These things always come with different patterns and textures. That means you’re more than welcome to try your own combinations. But our tutorial is done!
Before you learn how to draw A Christmas Wreath, did you know?
This breath-taking holiday always brings us, the human beings, together, and unites every single person under the same flag. As for the Christmas wreaths, they are a huge part of the whole celebration ritual: we hang them on the front door to welcome the guests.
Obviously, you can put them wherever you want, but the entrance to a person’s house is where it fits the most. There are many hand-made, custom wreaths available on the market right now. Or, if you’ve got the skills, nothing’s stopping you from creating your own.