Learn How To Draw A Cassowary Quickly & Easily
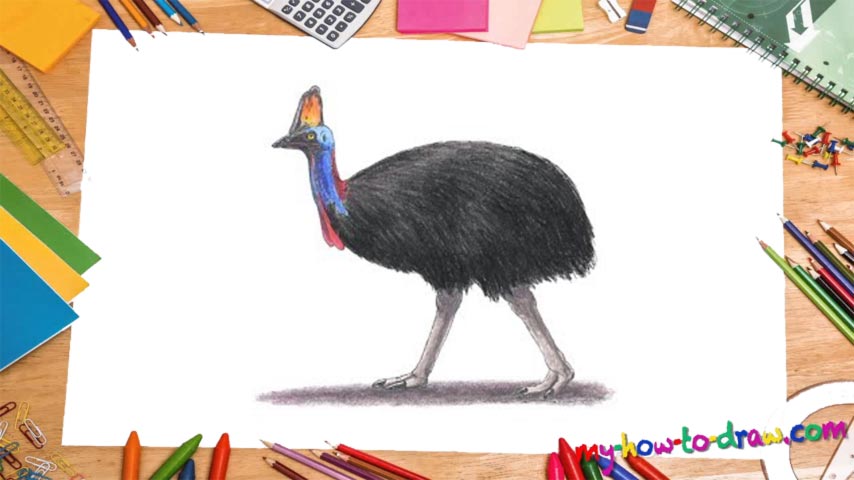
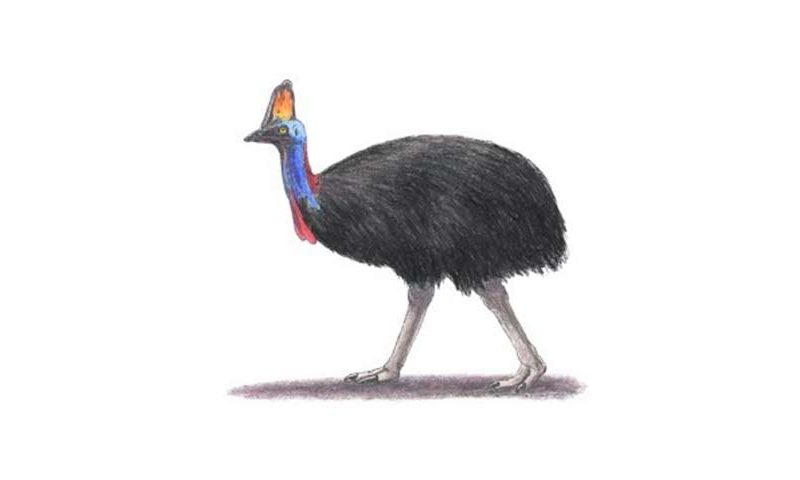
To make sure we get the proportions right, let us start with a huge circle in the right corner (00 min 07 sec). Then, add two half-ovals on both sides of the circles, making it look like an eye (00 min 11 sec). The next step of this how to draw A Cassowary tutorial is the head (00 min 15 sec).
You’ll need a much smaller circle and three similar shapes for the crest, the beak, and the neck. For the legs, use two long and thin lines (00 min 20 sec). Alright, now switch to hard strokes and get to the eye (00 min 23 sec). Divide the beak in two; for the crest, just go over the guiding lines with a pencil (00 min 33 sec).
If you’re happy with the neck and the head, move to the legs (00 min 46 sec). They should be pretty thick and feature two fingers each. To complete this how to draw A Cassowary tutorial, shape the body of the bird using the guiding lines (01 min 02 sec). And don’t forget to get rid of the guides once you’re done (01 min 20 sec).
Before you learn how to draw A Cassowary, did you know?
You’ll find these flightless birds in Australia, New Guinea, and the neighboring islands. Most people mistake the cassowaries with ostriches; yet, they’re actually different, even though they do all belong to the same genus. These guys mainly eat fruit but can also feed on seeds, roots and even tiny animals that they are able to chew.
Interesting fact: the cassowary is the 2nd-heaviest bird living on planet Earth right now (and the 3rd-tallest). Important note: despite the fact that they look pretty funny and are usually very shy, the cassowaries are quite strong and are known to attack animals and people with fatal consequences.