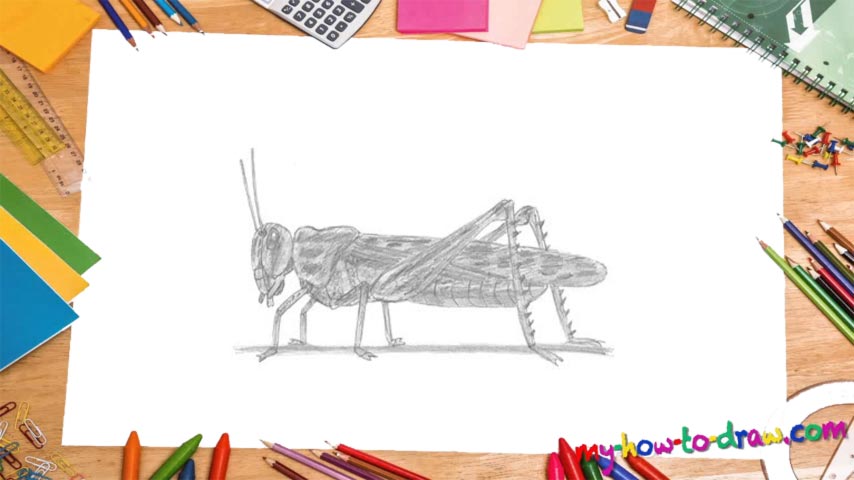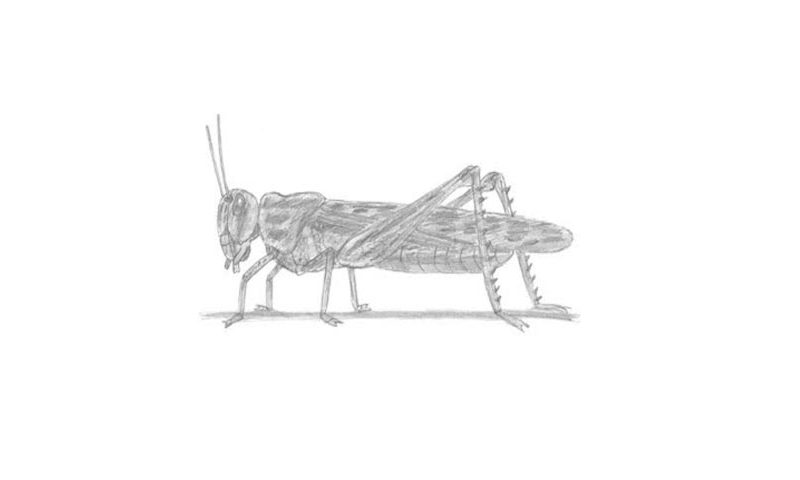
Learn How To Draw A Grasshopper Quickly & Easily
Begin in the left corner with a tiny circle and a half-oval right below it for the insect’s head (00 min 07 sec). Next, add two more circles, much bigger ones, to the right (00 min 11 sec). Don’t switch to hard strokes yet; complete this part of the how to draw A Grasshopper tutorial by connecting it all together (00 min 18 sec).
The legs follow (00 min 23 sec). The eye is pretty big (00 min 28 sec). It consists of an oval and a tiny circle inside. The “antennas” are located right next to it. Follow our guide and complete the lower half of the head before moving to the body (00 min 38 sec). The legs should be much thicker than the guides (00 min 48 sec).
The ones in the back are much bigger and have a triangle-like shape (00 min 55 sec). The wings come next (01 min 06 sec). That’s almost it for the how to draw A Grasshopper tutorial. To complete it, add the curvy lines for the body right below the wing and create two more legs up-front (01 min 12 sec).
Before you learn how to draw A Grasshopper, did you know?
These insects have been around for 250 million (!) years, and, according to the experts, are one of the most ancient creatures to walk the Earth. They are known for their impressive jumps thanks to the strong and enduring rear legs. Grasshoppers mainly feed on plants and are capable of destroying crops in large areas.
That only happens when thousands or even millions of these insects get together and “attack” pasture and vegetables. Grasshoppers aren’t predators, but they are the prey for many creatures; therefore, they use camouflage to stay hidden and to survive. Different species use warning coloration and startling to escape.