Learn How To Draw A Cat In A Witch’s Hat Quickly & Easily
Don’t let that fancy hat fool you – this is actually a very easy lesson. We won’t even need any guiding lines for the how to draw A Cat In A Witch’s Hat tutorial. The eyes come first (00 min 08 sec). Once they’re in place, add the diamond-like nose and the wavy mouth (00 min 40 sec).
To cover the cheeks, use two curvy lines that look like the letter “C” (01 min 00 sec). The right ear follows (01 min 26 sec). It should be pretty tall and perky. Be careful with the hat’s lower half and watch the video closely to get it right (01 min 45 sec). The hat consists of three parts: the 2nd one looks like a bunker; the third one is the tip – it’s sloping to the left.
Alright, we’re almost done with the how to draw A Cat In A Witch’s Hat tutorial. To complete it, move to the bottom of the paper to shape the body (03 min 05 sec). The back legs sit on the sides and come with three circles inside (03 min 23 sec). The V-like front legs are a lot simpler (03 min 45 sec).
Before you learn how to draw A Cat In A Witch’s Hat, did you know?
Along with dogs, cats are the most popular and “commercially successful” creatures in the world. They aren’t particularly fast, strong, or good-looking. However, thanks to their adorable appearance, millions of owners around the world love them. Plus, they’re the modern-day kings of Instagram.
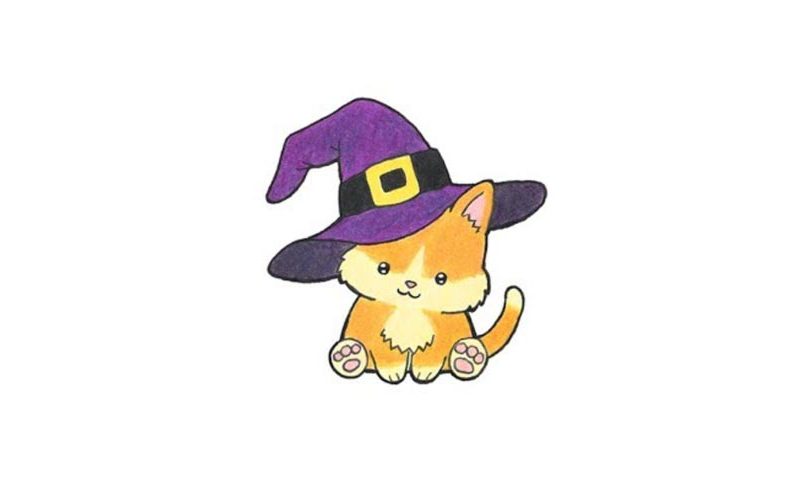
In this particular example, we’ve got a cat with a cute hat on that makes it look like a witch. For something like Halloween, this will be a perfect costume. By nature, cats are very self-centered and self-sustained creatures, meaning they can survive even in the harshest circumstances (extreme cold/warm, for example).
