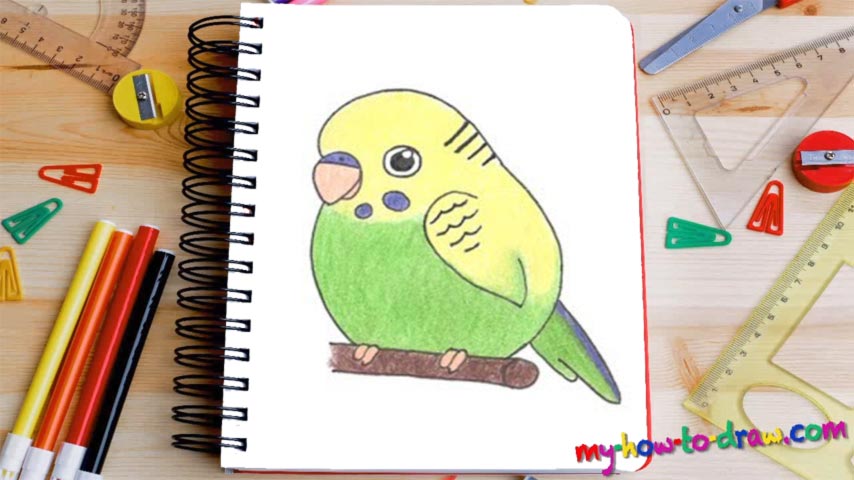
Learn How To Draw A Budgie-Parakeet Quickly
The bird’s eye comes first (00 min 08 sec). It consists of three circles – two white and one black. The mighty beak is next (00 min 40 sec). Don’t forget about the tiny curve on the right for the lower beak (01 min 00 sec). Ok, now that the intro to our how to draw a Budgie-Parakeet tutorial is done, it’s time to take care of the head (01 min 15 sec).
Begin in the upper half with a curved shape that touches the beak from the left side. For the right side, you’ll need a longer line that will cover the back of the head (01 min 30 sec). As for the body, use three curves for it: two vertical, and one horizontal (01 min 40 sec). Follow my example in the video and make sure the curve on the right matches mine.
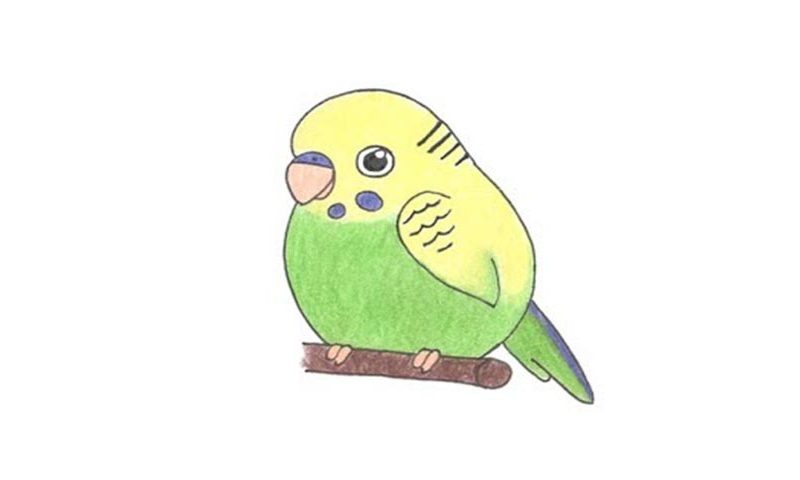
The log upon which our birdie is sitting is the next step in this how to draw a Budgie-Parakeet tutorial (02 min 00 sec). The toes – four in total – are just a bunch of ovals (02 min 16 sec). The wing and the tail complete this guide (02 min 30 sec). Wait, don’t forget about those circles under the eye (03 min 14 sec). Finally, if you want, color the parrot (03 min 51 sec).
Before you learn how to draw A Budgie-Parakeet, did you know?
AKA the common parakeet, this parrot comes with a long tail and likes seeds for breakfast. Found in Australia, the species is pretty remarkable, as it managed to survive in the continent’s harsh conditions for 5 million years, give or take. The most common (and natural) color combination is green-yellow-black, perfect for a small bird like that.
However, the humans have successfully bred different-colored budgies, including white and blue variations. These guys are very popular as pets because of the low cost, miniature size, and the famous mimicking ability. By the way, do you know when was the first time this species got its official place in our books? Back in 1805, and today, it’s the 3rd most popular pet.