Learn How To Draw A Broccoli Quickly
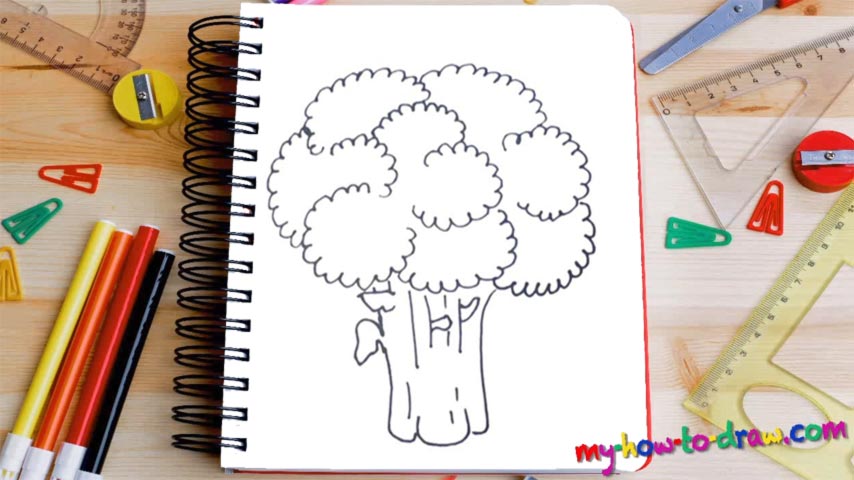
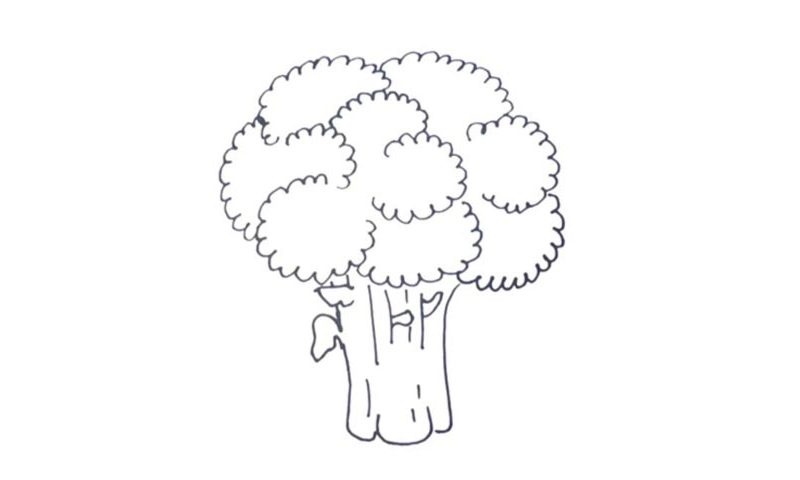
Basically, it’s a tree, only a bit tinier :). If you look at this drawing that way, it will be much easier and more fun to handle our how to draw a Broccoli tutorial. We’ve got the trunk at the very bottom and the lush crown of foliage at the top. We’ll start from the trunk (00 min 05 sec). It’s actually quite detailed and you should follow the video carefully to get it right.
Thankfully, there’s nothing hard about this part. You’ll need several vertical lines of different length and a couple of “limbs” on the left side (00 min 15 sec). And now that the foundation is in place, it’s time for us to add the branches in the upper corner of the paper (00 min 32 sec). They all look the same and sit on top of each other. After you’ve got the parts in the middle done, get to the sides.
Overall, there are nine “curls”, but you don’t have to follow me blindly. This part of the how to draw a Broccoli tutorial is about creating a realistic drawing, not making sure you’ve got an exact copy. Take a look outside of your window and check out the trees: you can grab the inspiration from there!
Before you learn how to draw A Broccoli, did you know?
According to the medics and the experts in healthy eating, this plant that looks like a tree is very good for our digestive systems and bodies in whole. Broccoli belongs to the cabbage family and is one of the most affordable and easy-to-cook products on the planet.
And while it’s usually boiled or steamed, you can eat it raw, and Broccoli will still taste good. It’s a great ingredient that can fit almost any meal and/or salad on your table. Say, if you’re cooking a huge diner for your guests that includes meat and potatoes, this green plant will fit perfectly, not to mention add a wonderful taste.

