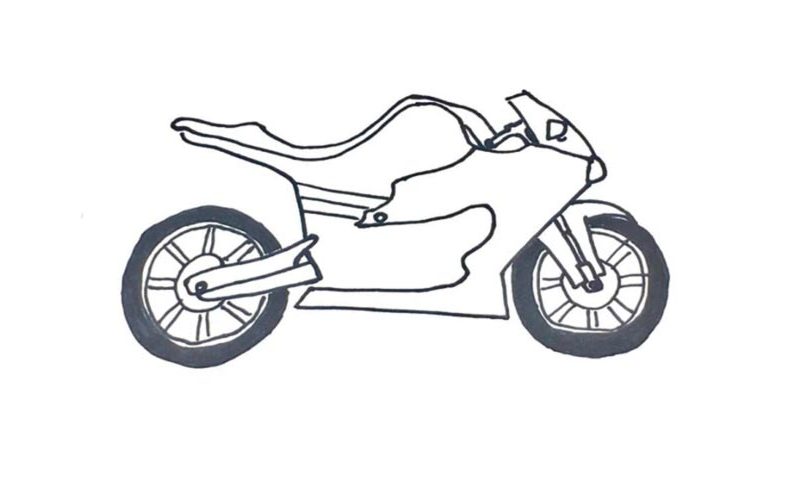
Learn How To Draw A Racing Motorcycle Quickly
As far as the coolest tutorials on our website go, this one’s definitely among the best of the best. At the same time, it’s not super-hard and you’ll be able to handle this how to draw a Racing Motorcycle video guide in no time. Begin in the left corner with the rear wheel (00 min 08 sec). You’ll need three circles for this part. Once they are in place, we can switch to the metallic body of this monster (00 min 40 sec).
It’s not a sophisticated shape – just a couple of lines put on top of each other. Go back to the wheel and let’s finish it (01 min 00 sec). After the circle is done, create the spokes. Ok, we’re done with the left wheel! All that’s left to do is color the tire black (01 min 23 sec). Now we move on to the main body of the bike (02 min 27 sec). It’s pretty basic actually.
Follow my guide and start at the bottom with a straight line. The top of the bike, the next step in this how to draw a Racing Motorcycle tutorial, should be nice and curvy to form a comfortable seat for the driver (03 min 52 sec). The final part, of course, is the front wheel (04 min 27 sec). Thankfully, it’s almost a complete copy of the rear wheel, which means it will be much easier.
Before you learn how to draw A Racing Motorcycle, did you know?
It’s safe to say that every single boy/man out there wants to own a fancy Bike like the one you see in the picture. It represents the very essence of being a cool dude: the vehicle is fast, wild, and free. Besides, you can use it as a mighty tool for picking up girls :).
The very first series production bike was introduced back in 1894 – it was the legendary Hildebrand & Wolfmuller. Today, Japan is the leader in the production of motorcycles when it comes to volumes. However, as amazing as these steel horses might be, they are very dangerous, so, drive safe!

