Learn How To Draw A Cargo Ship Quickly
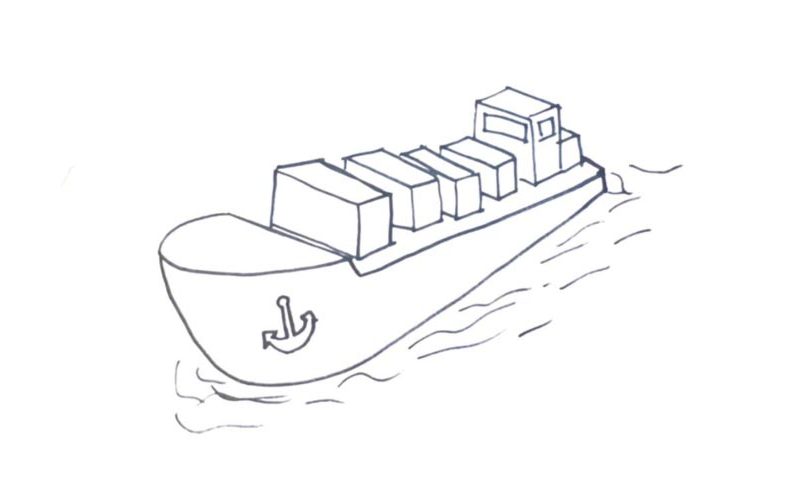
The hardest aspect of this drawing is, of course, the fact that it’s in 3D. If you get that right, the rest will be easy. So just follow us in this how to draw a Cargo Ship tutorial and let’s get down to business! Begin with the bottom of the paper with the frontal part of the ship and gradually move to the right (00 min 06 sec). You’ll end up with an arc.
Once that’s in place, create a straight horizontal line to shape the body of the sea vessel (00 min 18 sec). For the three-dimensional effect, you’ll need a half-oval right on top of that line (00 min 27 sec). That cute image of an anchor comes next (00 min 40 sec). Ok, now it’s time to add those containers – the cargo (01 min 02 sec). The boxes are of similar shape and size, but there are tiny differences for additional realism.
Moving up with this how to draw a Cargo Ship tutorial, please notice that the “box” in the far corner is actually the room where the crew sits (01 min 44 sec). Ok, we’re done with this lesson. The last thing you should do is add the waves in the right corner of the drawing (02 min 02 sec). Don’t try to copy me 100%; just go with whatever comes to mind.
Before you learn how to draw A Cargo Ship, did you know?
Did you know that even though the modern-day aircraft units are more advanced and techy than ever, cargo ships are still the cheapest and safest vessels on the planet? Now imagine how great of an achievement they were for our kind back in the old days!
It took humanity many centuries to find clear routes, set up a number of rules, and come up with the best balance in trading. When it comes to natural resources like gas and oil, the latest developments in the “pipe technology” make them the most affordable and reliable means of transportation. Still, ships are in large demand.
