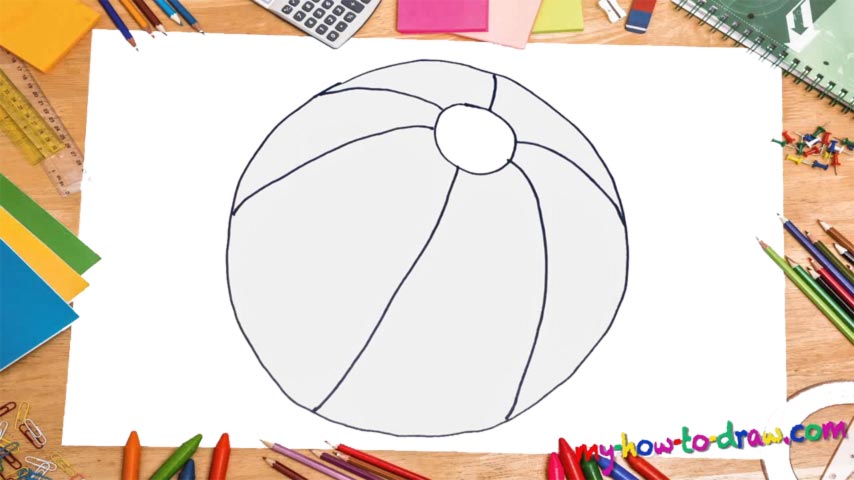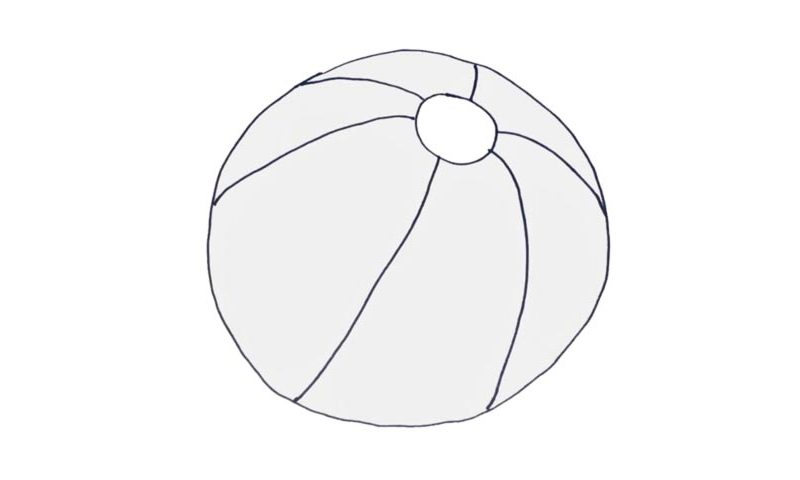
Learn How To Draw A Ball Quickly
Even if you’re completely new to the art of drawing and don’t know the first thing about it, I guarantee that you’ll be able to master our how to draw a Ball tutorial. Begin with the huge round shape in the middle of the paper that will be the main body of our ball (00 min 07 sec). It almost touches the bottom of the paper and isn’t at all sharp or smooth.
There’s actually no point in wasting time trying to perfect the angles. The end result will look great even if you leave it at that. What’s more important is to make sure it’s not an oval and/or too wide/narrow. So, if you’re happy with what you’ve got so far, go ahead and jump to the next step in this how to draw a Ball tutorial – the circle in the upper right corner.
Depending on where you’ll place it, the object will get a different perspective. For the sake of this video guide, put it exactly where I did (00 min 33 sec). The rest is pretty easy: all you’ll have to do is draw a series of curvy lines to accentuate the fact that it’s in 3D. You’ve got six of those in total, and they make the ball look like the real thing (00 min 40 sec). That’s it!
Before you learn how to draw A Ball, did you know?
You might think that balls are not that important and only play a minor role in our lives, but you’re actually wrong. The fans of football and basketball will tell you that without a ball, their favorite games would’ve simply never existed. So, treat it with respect, dear friends!
It’s true that people have been competing with each other in different sports disciplines long before the bright minds came up with the modern-day balls. However, without the proper “equipment”, they weren’t nearly as popular as they are today. Football, for example, is the most viewed sports in the world.