Learn How To Draw Halloween Drawings Quickly
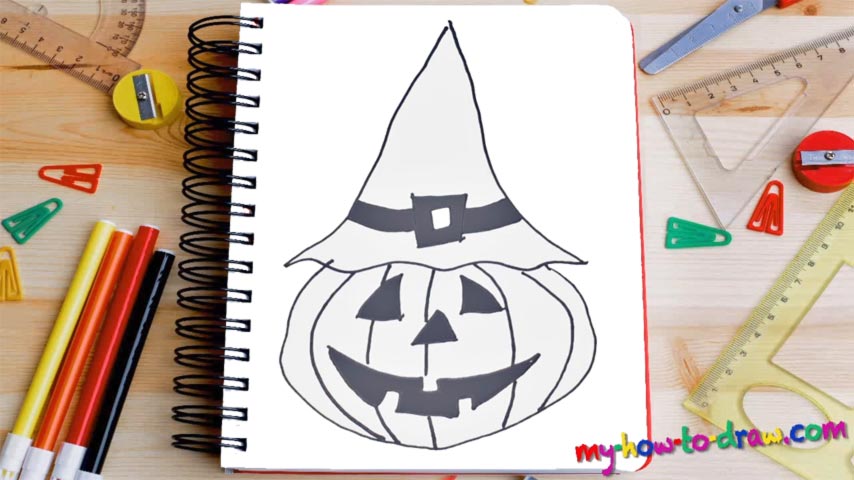
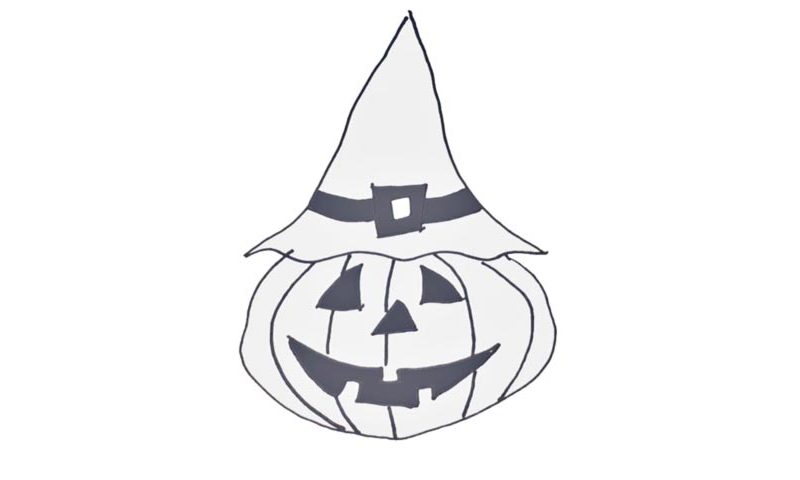
Are you a fan of this holiday? Or maybe it gives you the chills? Regardless, today we’ll try to learn how to draw Halloween Drawings – a cool pumpkin, to be exact. Begin in the right corner and create a nice reversed “C” for the bottom of the vegetable (00 min 06 sec). It should be somewhere between rough and smooth to look realistic and have that special mood.
The fancy hat sits right on top of it and covers most of the upper half (00 min 14 sec). Make the bottom line wavy. However, the higher up you go, the sharper it becomes (00 min 22 sec). The hat is actually a bit taller than the pumpkin – keep that in mind and make sure you’re getting everything right with the proportions. The “belt” in the middle of it comes next (00 min 30 sec). It doesn’t really serve any practical purpose but looks great.
The last steps in this how to draw Halloween Drawings tutorial are the carved out facial features (00 min 44 sec). The eyes and the nose look like triangles. The mouth, in turn, resembles a double dagger from the Ninja clans (01 min 07 sec). Those curves all over the pumpkin make it look more convincing and fitting the holiday mood.
Before you learn how to draw Halloween Drawings, did you know?
Some claim that Halloween is only popular in the States, and the rest of the world doesn’t really pay much attention to it. And while that’s partially true, over the years, the European and even the Asian countries have developed a strong love and appreciation for this crazy holiday.
Every once a year, we get a chance to dress up and put the fear of God into the hearts and minds of our friends/loved ones. Even the grown-ups put on all kinds of ridiculous costumes and enjoy every single moment of this celebration. Some of us take it a bit too far and scare the whole neighborhood!