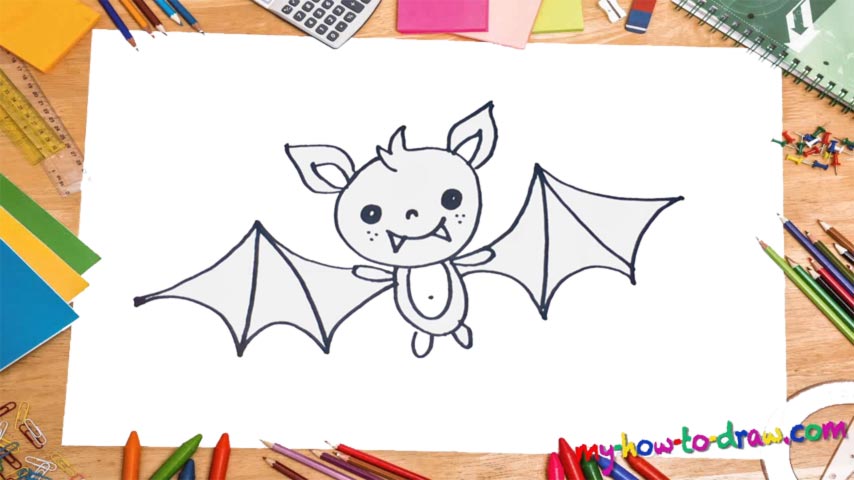
Learn How To Draw A Bat Quickly
These beasts are pretty scary, not to mention dangerous. However, in our video guide slash how to draw a Bat tutorial, the “hero” is a cutie. We’ll begin with the head and make our way forward from there (00 min 07 sec). The ears are nice and sharp, just like they should be when it comes to a proper vampire (00 min 16 sec). After you’re done with those, get to the face.
The eyes are tiny and perky (00 min 30 sec). Put them really close to each other and add the tiny nose just below. It’s got two teeth looking down to accentuate the fact that we are, indeed, dealing with a blood-drinking creature. The body is the next step in this how to draw a Bat tutorial (00 min 50 sec). Compared to the head, it’s extremely tiny and doesn’t come with many details. The legs and hands look fluffy.
At this point, the bat resembles a toy rather than a predator. But once you create the wings, you’ll witness the drawing change into something entirely different (01 min 06 sec). The wings are identical to each other. The edges are super-sharp; plus, they are as tall as both the head and the body. So, how does the bat look now? Convincing enough?
Before you learn how to draw A Bat, did you know?
The bats aren’t really big fans of the sun and/or open spaces. They prefer to stick to themselves and live in the caves all around the world. Scientifically speaking, these creatures are blind, but they’ve got super-sharp sensors that allow them to track their prey with great success.
Also known as blood-suckers, they drink the blood of their victims. The movie industry made them popular and even came up with human vampires that look like us but are predators at heart. The bats prove that nature is truly magnificent and gives life to the most intriguing beasts.