Learn How to draw A 3D Cross Quickly & Easily!
The rough sketch in this video is a bit different from everything else you’ll encounter. Basically, it’s just a number of straight vertical and tilted horizontal lines all over the paper. Still, this is a very important part of the how to draw a 3D Cross tutorial (or any other one, for that matter) and you should treat it respectively.
If it’s hard to get all the lines nice and straight, use the so-called multiple strokes technique. Remember: these are just a bunch of guiding lines; their purpose is to help you get the proportions of the real drawing right (01 min 15 sec). So, follow the video guide and put all the light strokes in. You’ve got 6 vertical and 5 horizontal ones.
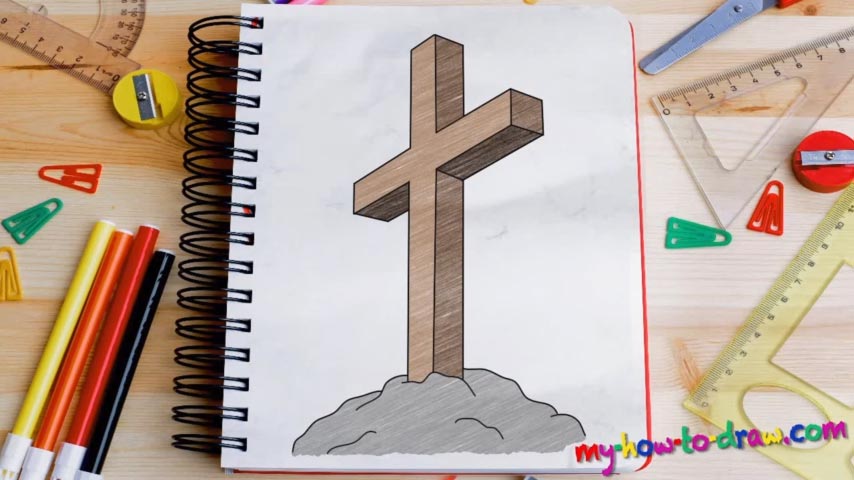
The next stage of this how to draw a 3D Cross tutorial starts with us using a marker and drawing the cross on top of the paper (02 min 22 sec). You could say that the cross is already there and what we need to do is “carve it out” from the rough sketch. Once you get to the bottom, move on a bit to the right and give the drawing that 3D touch (03 min 13 sec).
The final stage of this how to draw a 3D Cross tutorial is the foundation (03 min 53 sec). This is probably the easiest part. The thing is – you don’t have to match it 100% to my drawing, as opposed to the sharp corners of the cross itself. And that’s it for this video guide.
Before you learn how to draw A 3D Cross, did you know?
Crosses symbolize Christianity and the faith that people carry around in their hearts. So, despite the fact that this is one of the easiest tutorials on our website, it carries a strong message. Besides, you’ll learn to work with the guidelines and master the skill behind creating the illusion of an object being in 3D.