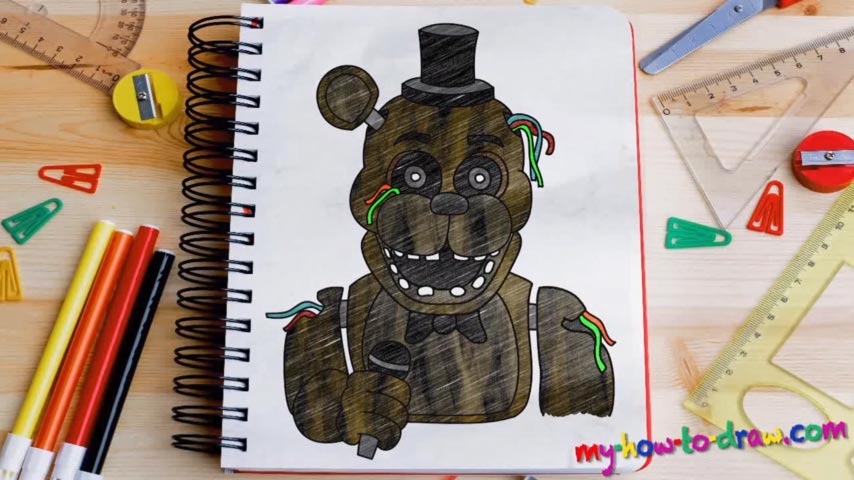
Learn How to draw Golden Freddy Quickly & Easily!
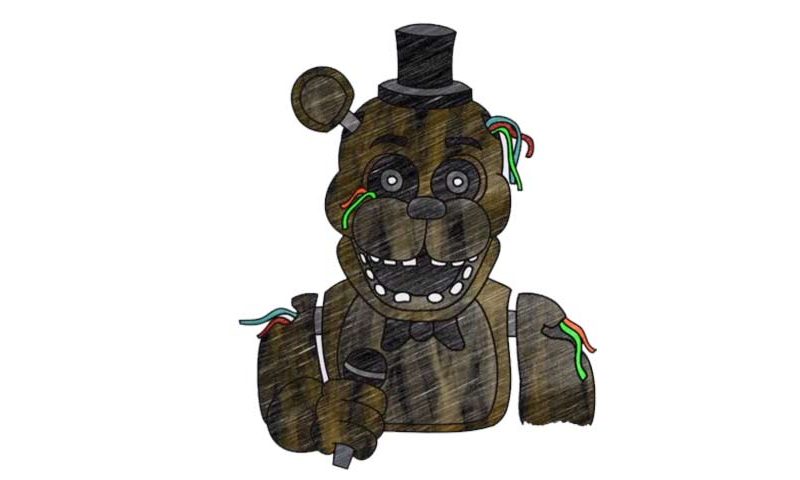
Treat this composition like an important step, because once you master it, you’ll take your drawing skills to an entirely different level. The rough sketch is easy; it’s the clean strokes that might prove to be challenging. Still, if you really want to learn how to draw Golden Freddy, nothing will stop you! As always, the circle for the head should appear first (01 min 15 sec).
Then, connect it with the lower part of the jaw and split the circle using two lines. The left ear should follow right after that (01 min 47 sec). The body is the easiest part (02 min 03 sec). Three circles and three short lines – that’s what you’ll need to finish it. You probably already noticed that I like to start with the nose when using dark strokes (03 min 13 sec). In this part of the how to draw Golden Freddy guide, everything needs to be perfect.
So, when you’re all done, put the eyes in (they’re identical (03 min 42 sec). Are the eyebrows in? Good, move on to the ear (05 min 12 sec). The left one is gone, and there are just some wires hanging out of its head on the right side (05 min 52 sec). There’s nothing hard about the hat, but it does look fancy (06 min 58 sec).
Before moving on to the body – the final stage of our how to draw Golden Freddy manual, complete the face. Draw a series of sinister-looking teeth (08 min 02 sec). That cute-looking bowtie just below the jaw is a nice touch (09 min 57 sec). The left hand is holding a mic; the right one is gone, just like the ear. The body is simple and features more wires – that’s it.
Before you learn how to draw Golden Freddy, did you know?
It will take you one look into this animatronic’s eyes to realize that messing with him is the worst possible idea. He’s a special enemy in the game and will hunt you in every single corner. With a mic in his hand, a hat on his head and a golden body color, he’s one of the scariest characters in FNAF.