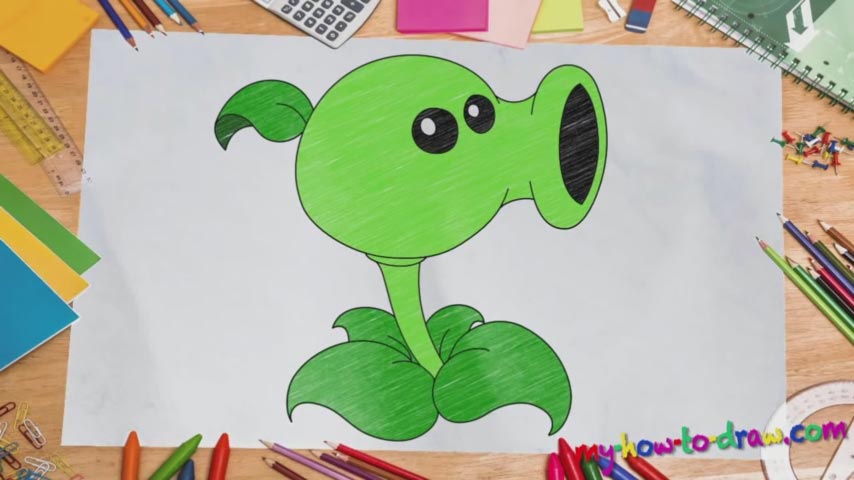
Learn How to draw Peashooter – Plants Vs Zombies Quickly & Easily!
This is a simple drawing, one that will allow you to hone your skills and get one step closer to becoming a great artist. Use a pencil with light strokes to create a rough sketch for this how to draw Peashooter – Plants Vs Zombies tutorial. Don’t try to make the lines perfect, because this is, after all, just a combination of guiding lines.
The circle in the top left corner is the first thing you should make (01 min 17 sec). The tip of our character’s nose comes next (01 min 35 sec). The foundation is the easiest part, by the way, and is comprised of five curvy lines (02 min 16 sec). Once the rough part is over, move on to using dark strokes (03 min 14 sec). This is the main part of this how to draw Peashooter – Plants Vs Zombies tutorial.
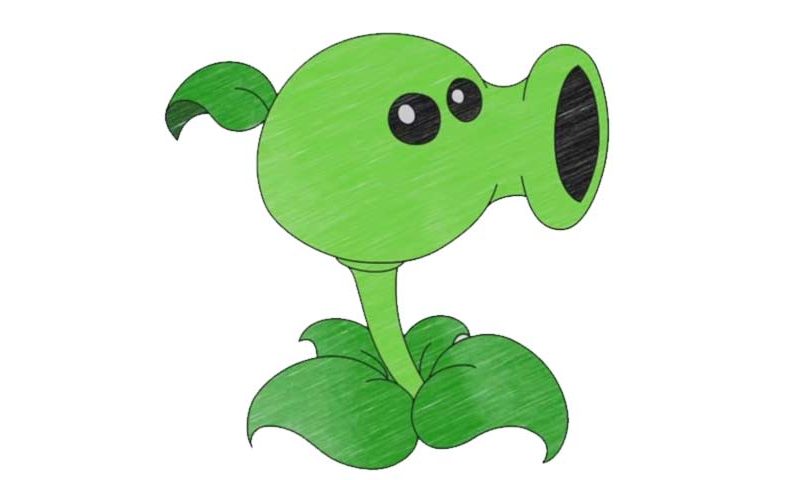
Begin with the same circle and keep in mind that every single curve should be perfect. Gradually move to the front before going back and drawing the sharp pair of eyes (03 min 47 sec). The left one is significantly bigger, by the way. Happy with what you’ve got so far? Then take care of the leaf on the back of the head and get to the next part – the bottom (04 min 27 sec). Draw two big leaves as the foundation and then put in the stem.
After you finish the rest of the leaves, our how to draw Peashooter – Plants Vs Zombies guide will be over. We hope you had a great time with us and picked up a thing or two along the way. Don’t forget to get rid of the light strokes and color the plant properly.
Before you learn how to draw Peashooter – Plants Vs Zombies, did you know?
This is the most basic and least expensive unit in the ranks of the Plants. At the same time, it’s super-reliable and you can use it to defend the garden from the nasty zombies that want to eat everything on their way. Further down the road, you’ll move on to bigger and better soldiers, but the Peashooter will always have a place in your heart :).