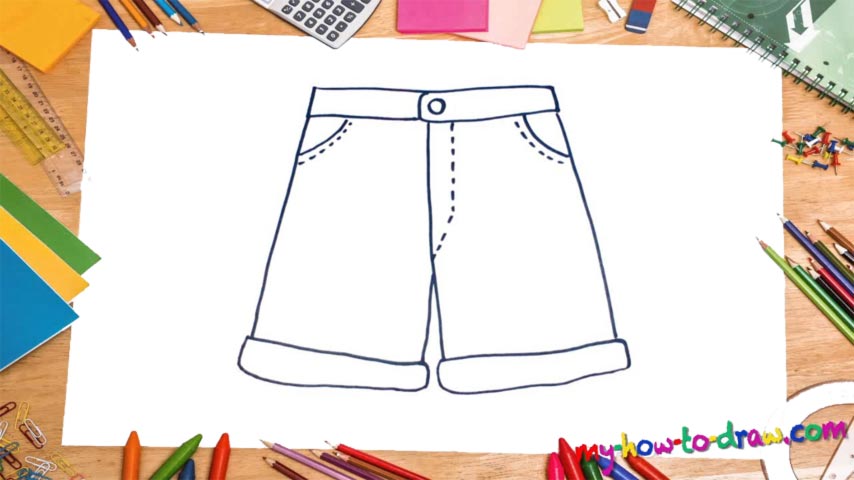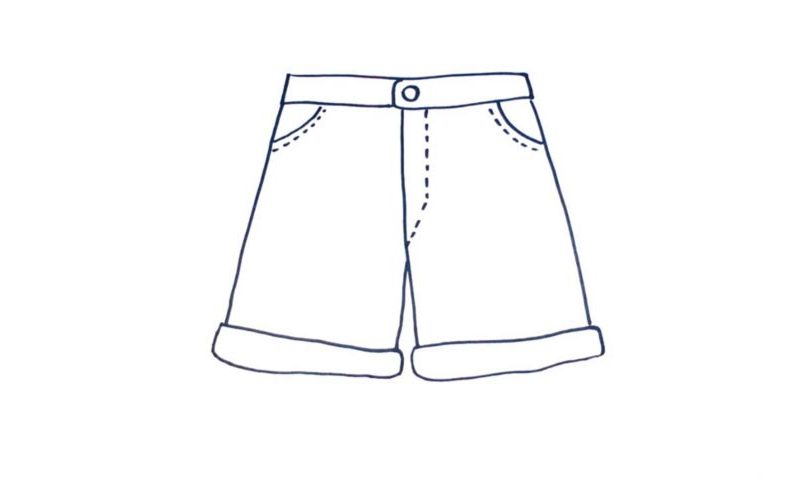
Learn How To Draw Shorts Quickly
What can be easier than drawing shorts, right? After all, most of us own at least a pair! During this how to draw Shorts tutorial you’ll learn that there are some very important things that you’ll need to be aware of if you wanna “nail” it. Start with the top (00 min 07 sec). Once you add that button, it will be time to move further down (00 min 20 sec).
Now just go ahead and draw three equally-long vertical lines just like you see in the video guide. The one in the middle is tilted a bit to the right and comes with another, a much shorter line for the crotch (00 min 35 sec). Happy with what you’ve got so far? Then let’s add the trademark dots that start right below the button.
Next, create two equally-sized curves in the top left and right corners to imitate the pockets (00 min 43 sec). They both come with the same “dots” as the ones we just put in a moment ago. The last things to take care of in this how to draw Shorts tutorial are the folds at the very bottom (00 min 55 sec). Obviously, you don’t have to do that with your pair in real life, but for the sake of this tutorial, please, go ahead and draw it for both legs.
Before you learn how to draw Shorts, did you know?
Did you know that back in the 19th-20th centuries, only young boys used to wear shorts? That’s right: no grown man in his right mind would’ve put a pair of these on. And whenever a boy got older, he received a pair of pants, indicating that he was an adult already.
As for the ladies, they didn’t have shorts in their wardrobes because of the social mores of that time. In the 1930s, people started to appreciate the level of comfort that shorts provided, but only wore them for certain occasions. Today, you can see folks wear them in the busiest cities and even on some serious meetings.