Learn How To Draw A Sock Quickly
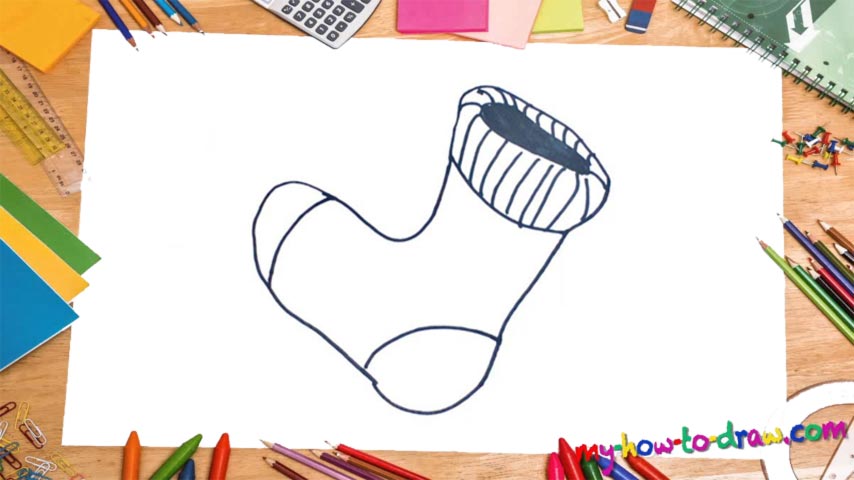
I bet you think this is one of the easiest and most “pointless” tutorials on this website, but you’re actually wrong. Even though it’s very simple for the professionals, the beginners will have tons of fun with it. This how to draw a Sock tutorial starts in the left corner (00 min 09 sec). Watch the video closely and follow the hand’s movements to get everything right.
Don’t try to complete the whole thing in one go: divide the main body of the sock into three parts. That way, it will be much easier to get the separate lines and shapes right. After you’re done with the lower part of the drawing, move on to the top (00 min 25 sec). For this, you’ll need two nice and round curves and a horizontal oval right in the middle. See those lines surrounding the middle (00 min 40 sec)?
They are the next step in this how to draw a Sock tutorial. Nothing hard about them: just cover the whole thing up and paint the oval black (01 min 00 sec). Finally, go ahead and add those classic lines in the bottom left and right sides just like you see in the video guide (01 min 17 sec). Ok, now you’ve got a proper sock in your hands! It looks great in white, but you can experiment with different colors to see which ones fit most.
Before you learn how to draw A Sock, did you know?
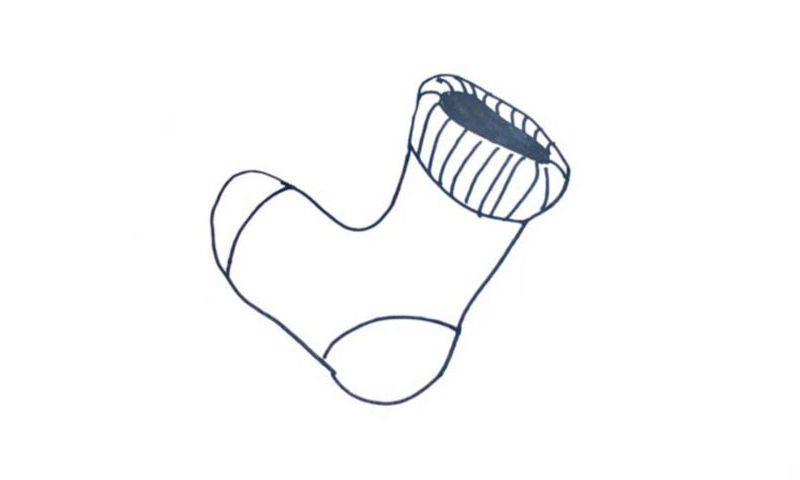
As you can see from the preview, this isn’t a light summer-time sock, but rather one that you’d wear during the cold winter days. It looks pretty cute, and will be especially fitting for a woman’s Christmas outfit – what better way to celebrate than in these adorable socks?
According to a long-living tradition, we are supposed to hide the Christmas presents inside a series of socks and hang them out in the living room. Even if you don’t put anything into them, the socks themselves will be quite alright as gifts – nothing like getting warm!