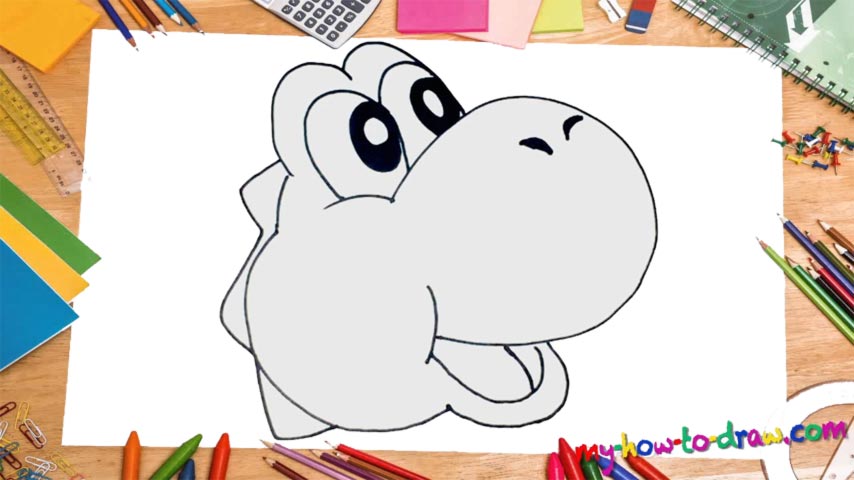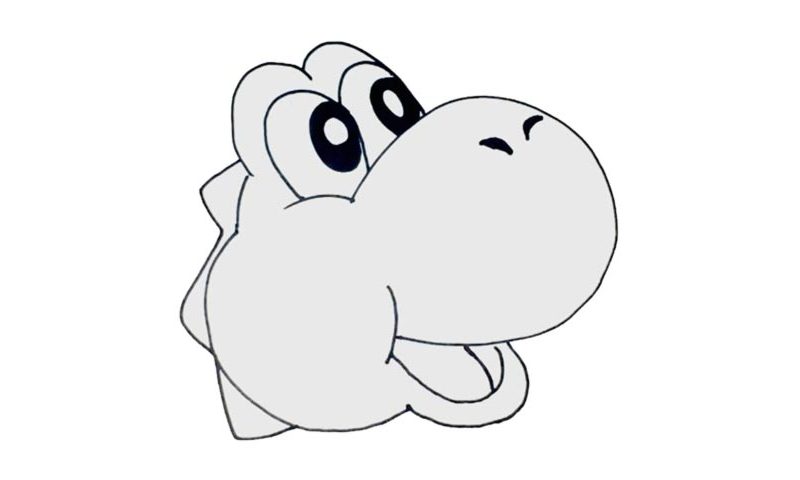
Learn How To Draw Yoshi Quickly
This isn’t a difficult drawing; but, as always, you’ll need to be extra careful with your lines and curves. For that big, round “mug”, you’ll need a half-circle/oval in the middle of the paper (00 min 12 sec). The nostrils sit in the upper corner (00 min 20 sec). The next step in this how to draw Yoshi tutorial is the lower jaw. His mouth is open.
For the tongue, you’ll need two simple shapes, nothing fancy (00 min 30 sec). To cover the bottom left side of the head, use another curvy line like you see in the video (00 min 37 sec). Once it’s in place, complete the head by adding that classic “eyebrow top” (00 min 42 sec). The huge eyes sit right below it and are identical to each other.
Two ovals and two circles colored black with big white spots in the center – that’s all you’ll need for this part of the how to draw Yoshi tutorial. The last thing to do is to work on the zigzag-like part in the left corner (01 min 30 sec).
Before you learn how to draw Yoshi, did you know?
Generally, dinosaurs are bad news in the Mario universe, but this guy is all about being friendly and helpful. As one of the most popular characters in the franchise, he’s a frequent guest in most Mario games, and the crowd seems to never get tired of him. This guy was first introduced to the world in the now-iconic Super Mario Bros.
He is a trusted sidekick not only for Mario but also his brother – Luigi. First of all, his super-long tongue is perfect for grabbing objects from a distance and getting to places where neither one of the siblings can get to. Furthermore, he’s happy to put any object into his mouth and produce an egg that can be used as a weapon. Yep, this dino is all kinds of fun!