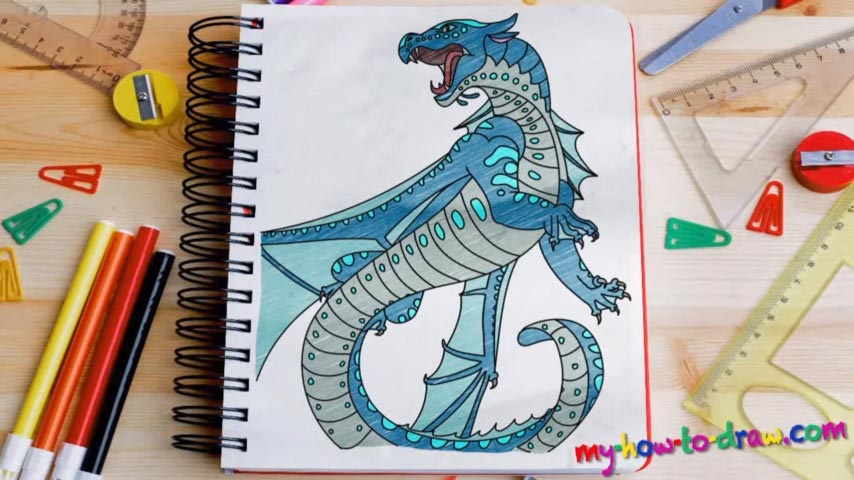
Learn How to draw Wings Of Fire – Tsunami Quickly & Easily!
This is one of those drawings that heavily depend on the guidelines. If you get them right, everything will be great. So, treat the first part of this how to draw Wings Of Fire – Tsunami very seriously. Begin at the very top with three circles (00 min 23 sec). Then, create two huge S-like shapes for the entire body (00 min 35 sec).
The hands and the wings come next (00 min 58 sec). Draw some basic guidelines for those and let’s move on to the main part of this manual. The only visible eye in this composition comes first (02 min 11 sec). Then, use the guiding circles to shape the creature’s head. Add the teeth (4 in total) and the tongue to complete the jaw. If you’re happy with that, get to the left hand (03 min 51 sec).
As I like to say, if you did everything right with the sketch, this stage of the how to draw Wings Of Fire – Tsunami tutorial will be a lot easier. All good? Great, let’s use the light strokes to outline the beast’s majestic body (05 min 17 sec). Again, it all depends on how accurate you were with the sketch. Next, go back to the right hand and finish it by using the tips in the video guide. Ok, we’re almost done!
The wings, the most important part of any dragon, should be treated with due respect (08 min 19 sec). Be extra smooth with the lines and try to do everything exactly like I did. The goal is to use the initial strokes and make them look more realistic and 3D. That’s actually it! The last thing you should do is add those dots and scales all over the dragon’s body (10 min 45 sec). You can try your own patterns, but the one in my drawing is the most “authentic” one.
Before you learn how to draw Wings Of Fire – Tsunami, did you know?
Dragons aren’t real – they only exist in the fairytales. But that only makes them that much more amazing, doesn’t it? This particular one is a princess and her entire family used to think that she was lost. Her egg was stolen many years ago, and she was forced to survive on her own.