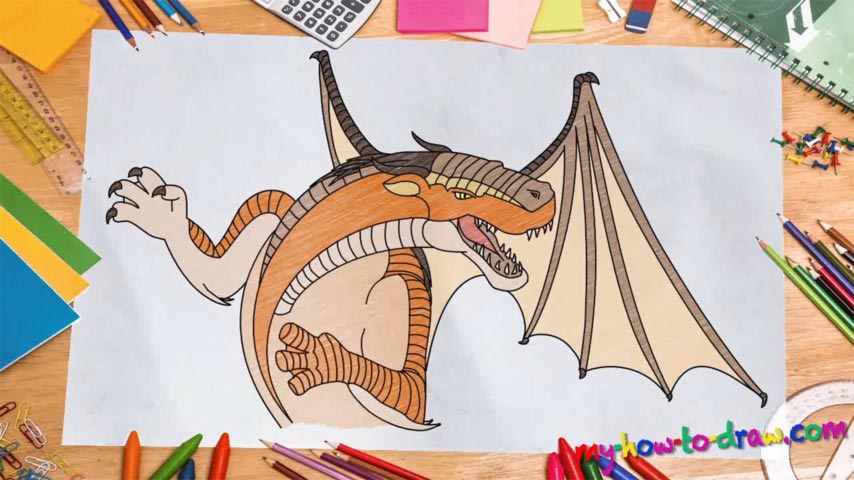
Learn How to draw Wings Of Fire Mudwing Clay Quickly & Easily!
This is quite a sophisticated drawing that is, without a doubt, worth your while. Obviously, we won’t get a proper result without at least some guiding lines. Begin with a triangle-like shape that represents the head (00 min 23 sec). Next, create two curvy lines for the neck and add two circles for the hands like you see in the video to the how to draw Wings Of Fire Mudwing Clay tutorial (00 min 50 sec).
Once the hands are done, move on to the wings (01 min 40 sec). A couple of curvy lines are all you’ll need to finish this part of the manual. Don’t be too picky about your rough sketch. Just make sure the proportions and the placement are right. The rest is not that important. Ok, now it’s time to use darker strokes and get to the real deal. The tiny eye comes first (01 min 59 sec). The nose is simple.
The left ear and the horns are also pretty straightforward (02 min 45 sec). Once those are done, use a series of curvy lines for next stage in the how to draw Wings Of Fire Mudwing Clay tutorial – the jaws (03 min 34 sec). Don’t try to complete the whole thing with one line – use a number of those to simplify your task. The teeth are tiny but still look scary. If you’re happy with the head, move on to the rest of the body (05 min 44 sec).
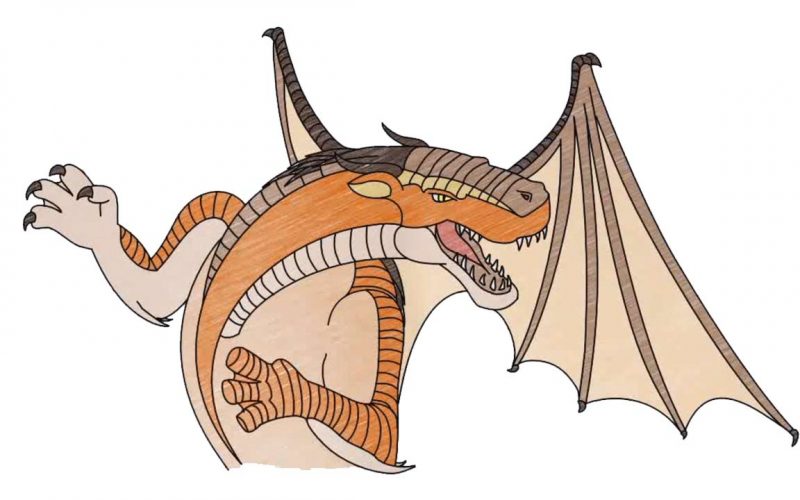
Use the rough sketch to add more details to the hands. The breath-taking wings look awesome, but are, indeed, quite easy to draw (07 min 03 sec). Simply go over the light strokes and connect the individual parts with each other (08 min 21 sec). To finish this how to draw Wings Of Fire Mudwing Clay tutorial, go back to the hands (09 min 30 sec). The right one is easy; the left one a bit trickier. The final part is the scales all over its body.
Before you learn how to draw Wings Of Fire Mudwing Clay, did you know?
Big, majestic dragons always look great in any type of portfolio. In order to pull this one off, you’ll need great drawing skills and spend a lot of time perfecting those curves. But the end result will, without a doubt, be worth it. Just take a look at that creature – doesn’t it look all kinds of awesome?