Learn How to draw MOM LOVE Bubble Letters Quickly & Easily!
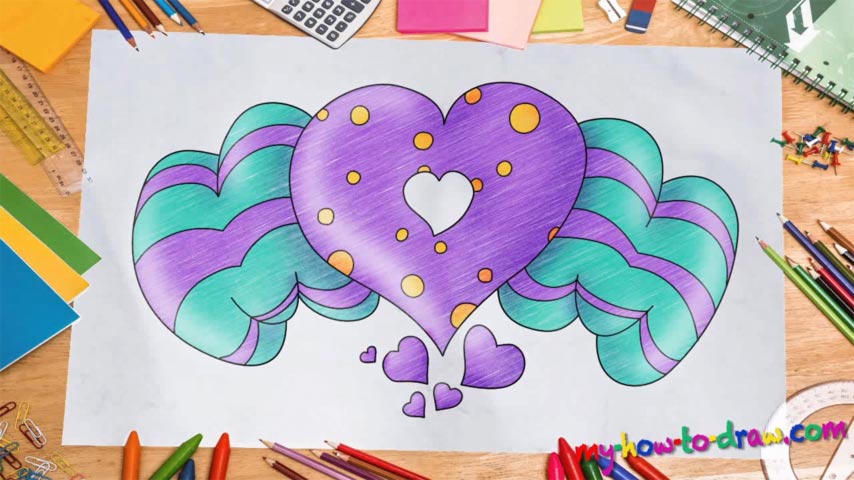
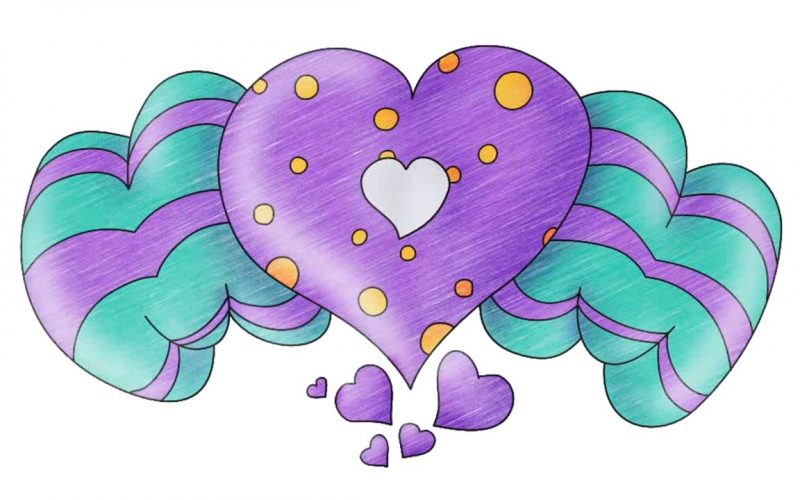
If you want to bring a smile to your mom’s face without having to do much, this how to draw MOM LOVE Bubble Letters tutorial is your best chance to do that. Start with creating a huge heart in the middle of the paper (00 min 23 sec). It should come with really smooth and curvy lines; otherwise, the end result won’t be that great.
After you draw another heart inside of the first one, move on to the letters “M” on both sides of the screen (00 min 43 sec). They are pretty much identical and easy to make. Basically, each “M” consists of four curves that sit on top of each other and form a letter. If you’re happy with what you’ve got so far, add even more tiny hearts at the bottom of the paper.
The final stage of our how to draw MOM LOVE Bubble Letters tutorial are the stripes all over the two letters (01 min 48 sec). Take your time with them and make sure the pattern looks exactly like the one in my video. All done? Good, then go ahead and create a number of small circles inside the heart to accentuate the mood of celebration (02 min 46 sec).
That’s actually it! Nothing hard about this guide, is there? In this particular case, coloring can make it or break it, which is why you shouldn’t rush yourself (02 min 54 sec). You’ll need three colors for this project: pink, light green and yellow. Experiment with the combinations until you find the one you like best.
Before you learn how to draw MOM LOVE Bubble Letters, did you know?
This is a relatively easy composition that looks great. You won’t need pro skills to create something similar to what you see in the video. But, at the same time, it will be an awesome gift to your mother who most certainly deserves something special like that!

