Learn How To Draw The Number 9 Quickly
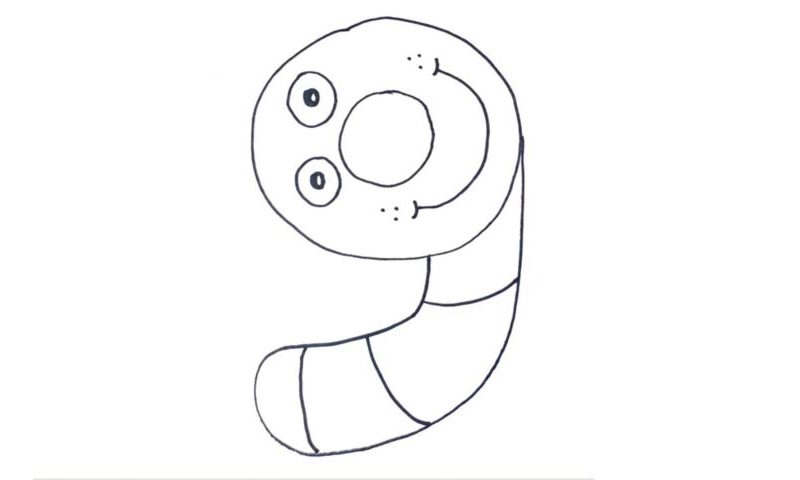
Looks like a funny worm of some kind, right? We just wanted to introduce something new to the boring process of drawing simple shapes in this how to draw The Number 9 tutorial. First of all, let’s add two circles in the upper corner of the paper (00 min 06 sec). They are the same in shape but very different in size. Don’t try to make them 100% smooth, though.
The lower half is much simpler (00 min 22 sec). You’ll need a basic curvy shape to “hold” those huge circles – that’s its only task. The final result resembles a donut from the vintage movies, doesn’t it? If you are happy with everything so far, let us move on and create a series of curvy lines for the bottom half (00 min 37 sec).
The final part of this how to draw The Number 9 tutorial – the facial features – are turned to their sides (00 min 42 sec). The circle in the middle will be our nose. The eyes consist of two oval shapes with tiny black-and-white dots inside. The mouth looks like the letter “C” (00 min 53 sec).
Before you learn how to draw The Number 9, did you know?
The magic starts with the number nine – at least that’s what many fairytales used to tell us back when we were kids. And, it is a sacred number. According to several religions, 9 is the symbol of the Heavens and brings fulfillment and a sense of purpose to a person. The Chinese, one of the most ancient nations on planet Earth, have a very strong connection to numbers.
Say, when they pronounce the word, it sounds very much like “long lasting”, which is pretty cool. At the same time, in some parts of Japan, 9 is an unlucky number. It all dates back to the medieval age. Finally, Beethoven, the legendary composer, wrote 9 symphonies, and to this day, they are considered to be classics. Yep, nine is a pretty cool number!
