Learn How To Draw The Number 8 Quickly
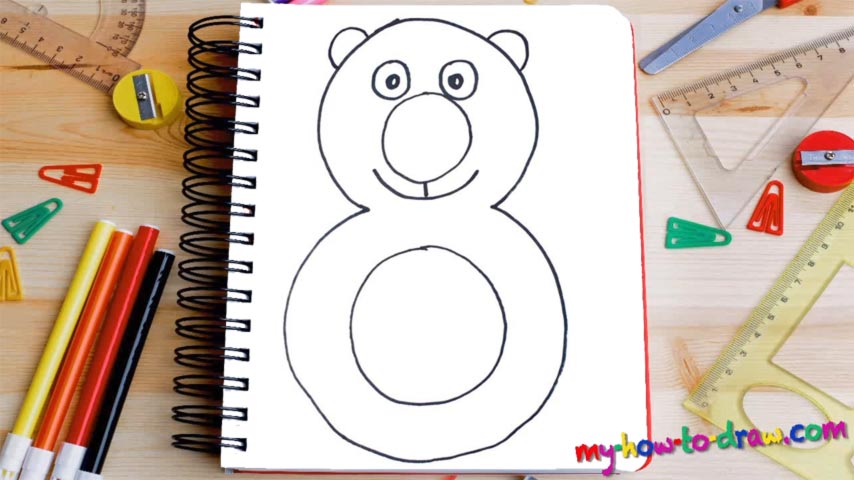
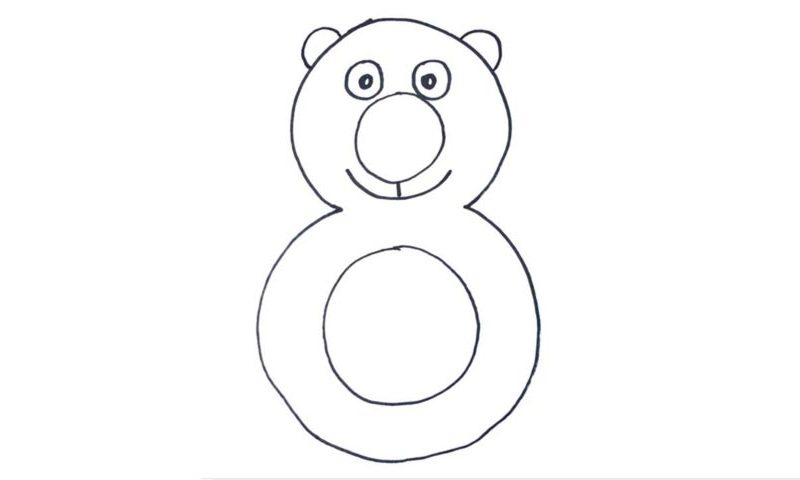
Admit it: you’ve been trying to master this number for a long time but keep failing at it, right? It’s ok, we’ve all been there. With the help of our how to draw The Number 8 tutorial, you’ll “nail” it without even breaking a sweat. The key lies in the old saying – divide to conquer. That’s exactly what we’ll do today. See that tiny circle in the upper corner (00 min 06 sec)?
Start there. Once it’s in place, move to the lower corner of the paper and add another circle (00 min 16 sec). It should be significantly bigger and cover more space. Looks a bit like a snowman, right? If you’re happy with what you’ve got so far, follow my lead and create two huge half-circles like you see in the video (00 min 29 sec). They should be the opposites of each other.
Alright, the main part of this how to draw The Number 8 is done! Now we’ll just try to turn it into a living-breathing being by adding a nose, a set of eyes, and ears (00 min 53 sec). The mouth is a simple horizontal curve; the eyes are just two double circles; the ears are a piece of cake.
Before you learn how to draw The Number 8, did you know?
If you turn it to the side, the number 8 will start to look like the Infinity sign. This is a pretty awesome number that hasn’t changed much since the ancient days. In many religions, it is considered to be a symbol of harmony and peace. For many, it is a holy number, just like 7 is for others. The Chinese believe that 8 brings prosperity. As for 88, it brings even more luck.
Saturn is the 8th planet in our system. In Latin, “octo” means eight. That’s exactly why the MMA ring is called the octagon – because it has 8 corners/sides. Did you notice that the majority of umbrellas come with 8 sides? A byte is 8 bits. Spiders and many other insects have 8 legs; the octopus, one of the most intelligent beings on the planet, has 8 limbs/arms.