Learn How To Draw The Number 6 Quickly
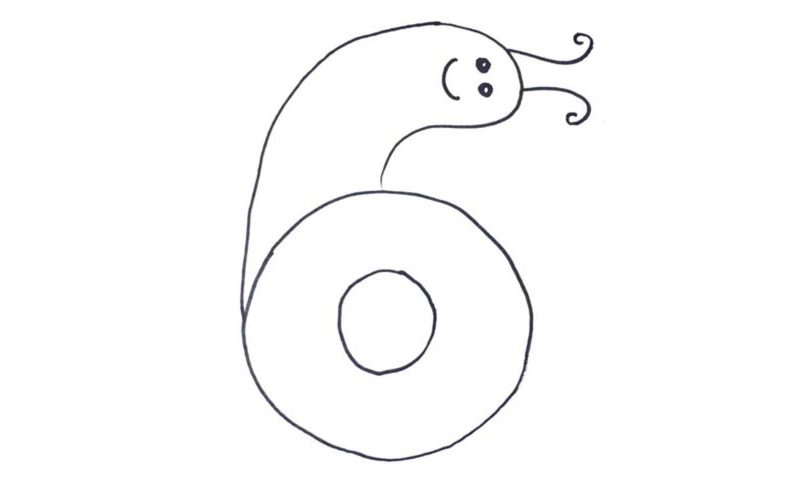
There’s nothing hard about this video guide, my friends. Even if you’re still a newbie, our how to draw The Number 6 tutorial will help you “land” this drawing right here and now. Start in the lower left corner of the paper and create a pretty big circle (00 min 07 sec). It shouldn’t be 100% curvy and smooth but do work on those sides a bit.
Once it’s in place, add another circle, a smaller one, inside of the one you just made (00 min 20 sec). Ok, the lower half of the drawing is done! Looks like the number “0”, right? For the upper half, you’ll need a vertical curve that resembles a sausage (00 min 31 sec). Happy with it? Alright, we’re almost done with this how to draw The Number 6 tutorial.
All that’s left to do is work on the facial features to make it look like a snail. The eyes are just two tiny dots (00 min 45 sec). The mouth is a C-like curve. The cute “antennas” sit on top of the head and complete this lesson (00 min 55 sec).
Before you learn how to draw The Number 6, did you know?
Some superstitious folks believe that this is a cursed number and brings bad luck. However, that’s not really true. Yes, numbers are quite powerful and are the keys to many unsolved mysteries of our kind. Still, today, in the technological age, nobody really considers them to be “life-defining” or something like that. Yet, they do play a vital role in many confessions.
In mathematics, six is very “popular” and allows the scientists to come up with new formulas. Do you know what a hexagon means? It’s a polygon, a cube with 6 sides. The standard acoustic and electric guitars have 6 strings. In religion and in science, you can’t really do much without numbers, and 6 has always been a central number in chemistry, astronomy, and Islam.
